Presentation in Detail
This is a deeper dive into the finishing process I use on every photograph I make. There are about 30 steps shown here, but it’s mostly pictures so you can scroll through quickly. My thanks to Tim Anderson of Shadow and Light Magazine for taking all the photographs below.
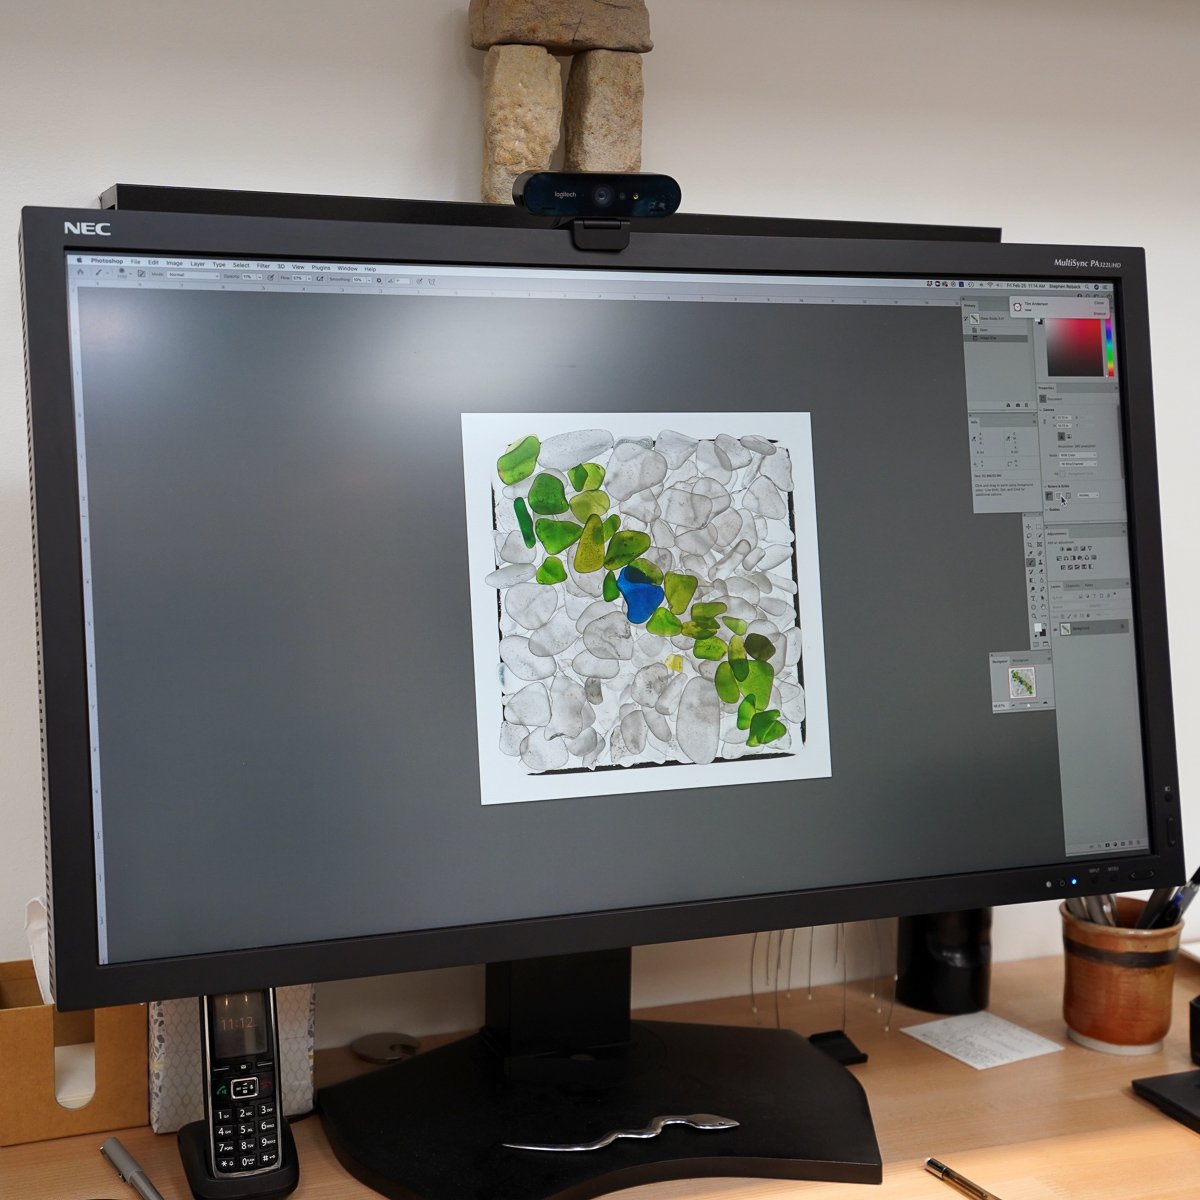
Above is the image we’ll finish in this demo. Of course it starts with a photograph, in this case a studio shot of beach glass in a small square vase, shot on a light box. After basic editing on the computer, this image was printed on an Epson 9570, a new state-of-the-art archival pigment printer. My usual paper is lightly textured Somerset Velvet.
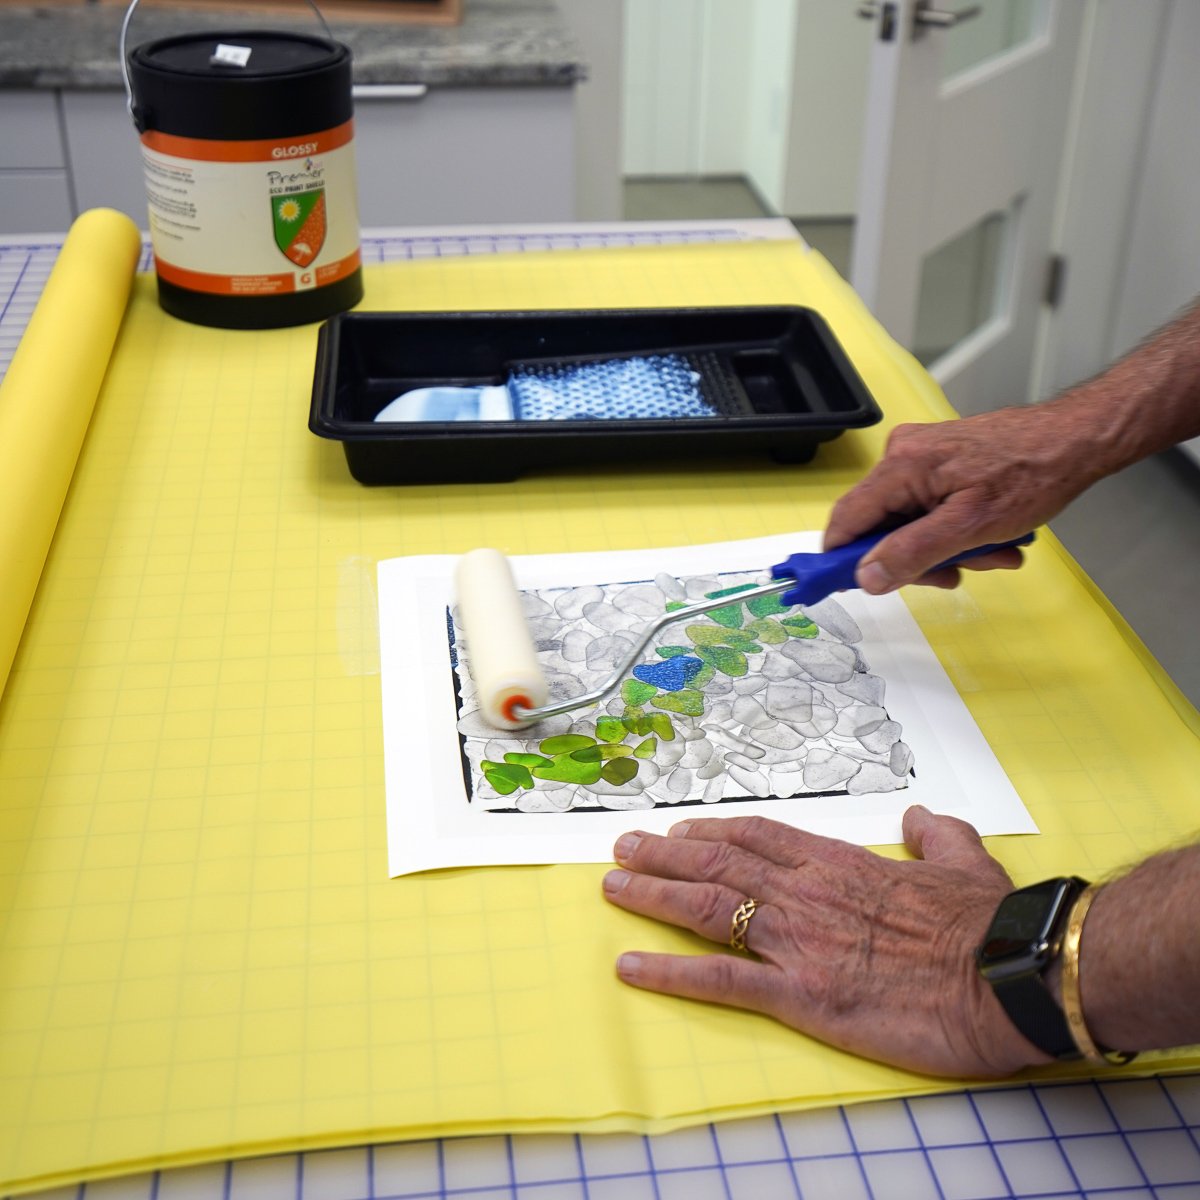
After the print is allowed to dry, usually over night, it’s rolled with three coats of a clear, UV-filtering water based print varnish called Eco Print Shield made by Premier Art Products. Prints get two coats of Glossy Eco (the clearest) and a final coat of either Satin or Matte depending on the image. As you go through the steps below, keep in mind that the print, which began with a very delicate matte surface, is now much more durable. It also has a print longevity rating from Wilhelm Imaging of over 100 years.
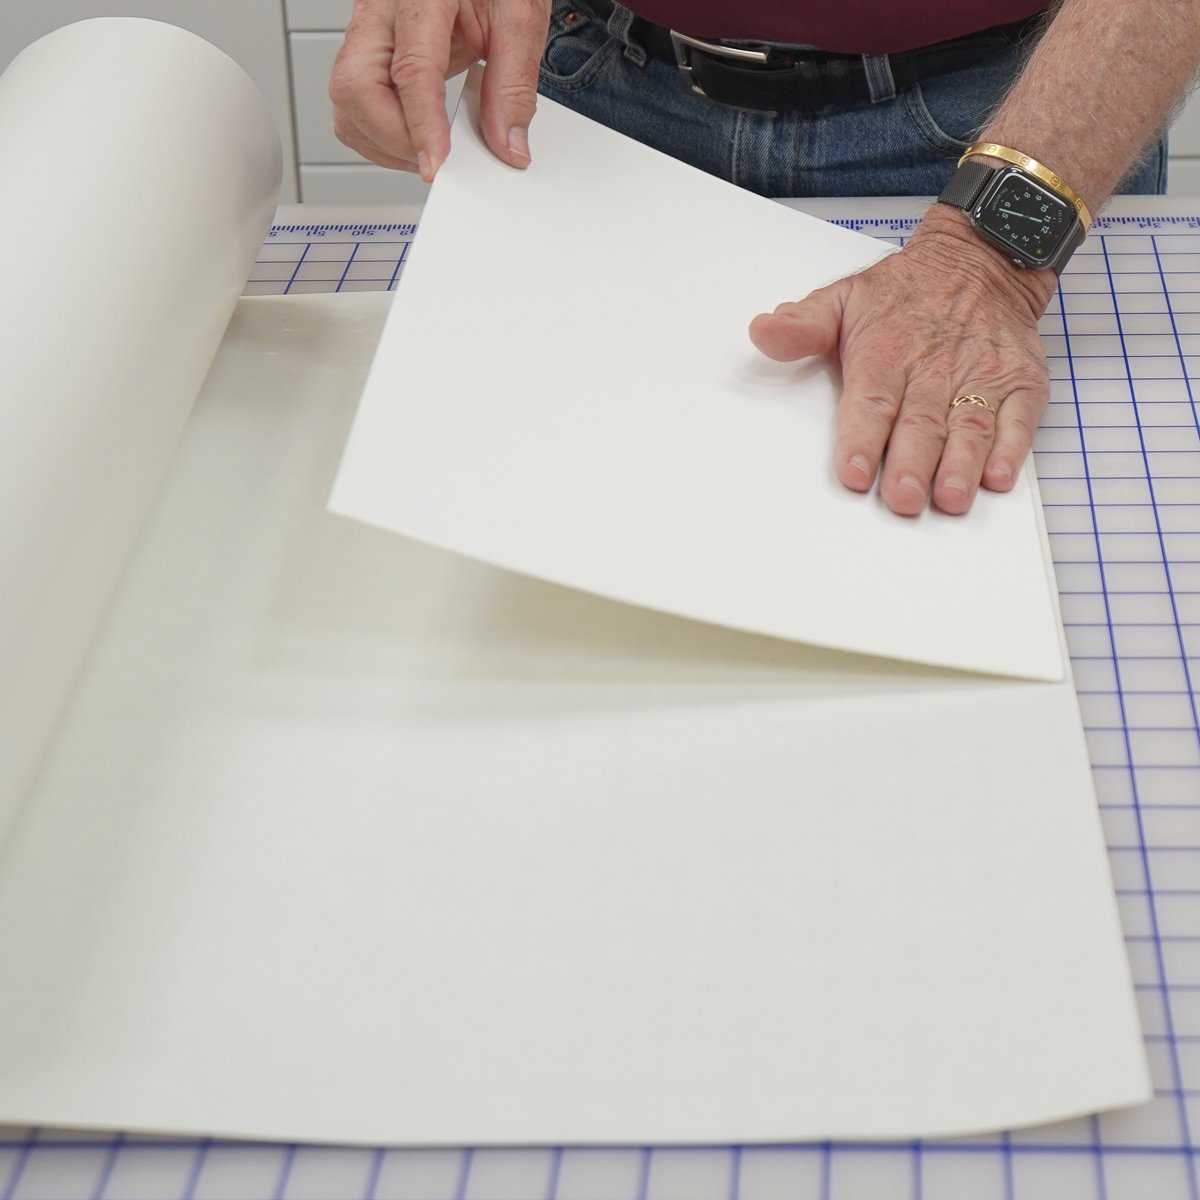
Once the print is fully dry, another overnight wait, the lamination process begins. Here you see a piece of acid-free mat board being pressed onto a sheet of adhesive film, a PH-neutral adhesive that is very aggressive and permanent. Any mishaps in handling or application usually result in starting over!
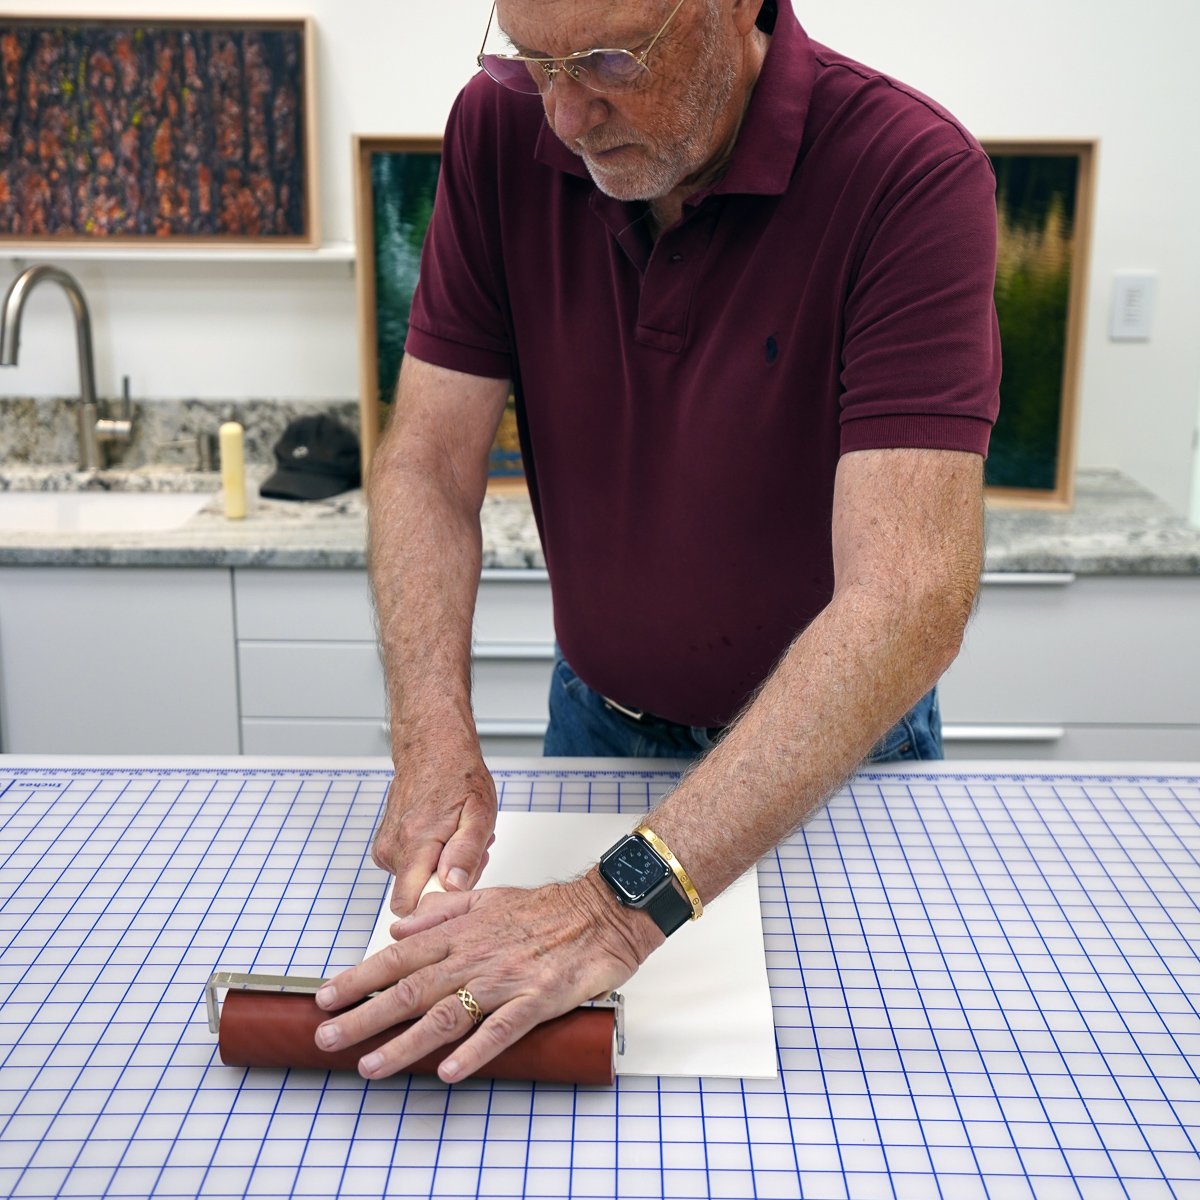
Because I don’t use a laminating press, I use a wide Japanese brayer to make sure the adhesive is fully tacked down onto the board with no air bubbles.
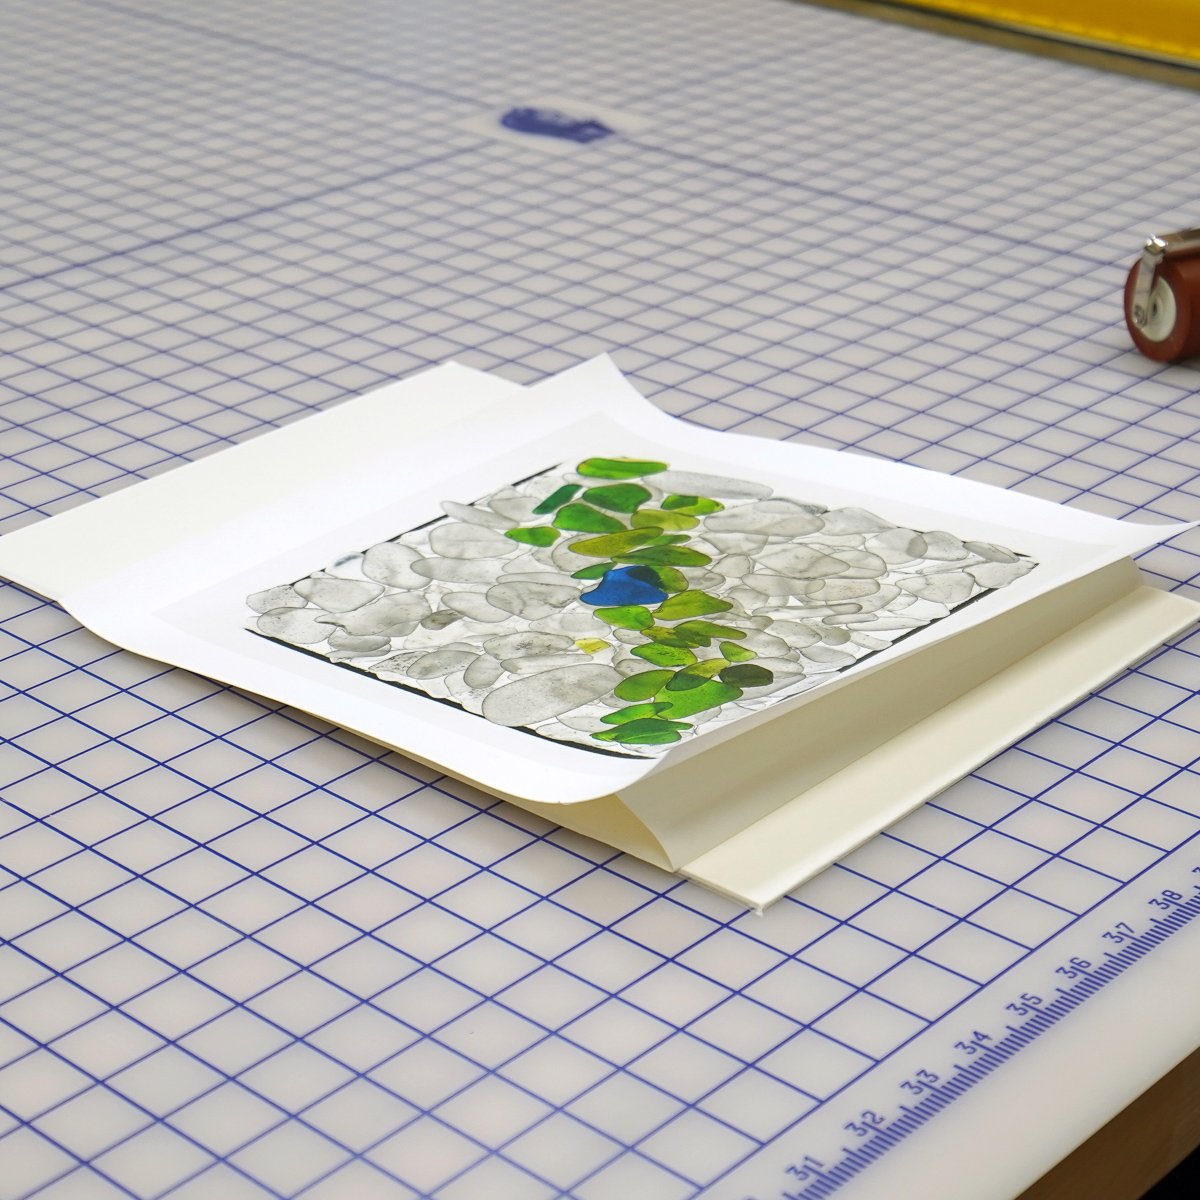
Here the print is aligned on the board with the adhesive. This print was small so not hard to align, but things get really tricky when doing this with a print almost six feet long. The technique I developed is to fold back just an inch or so of the release paper that backs the adhesive and align the print on the board.
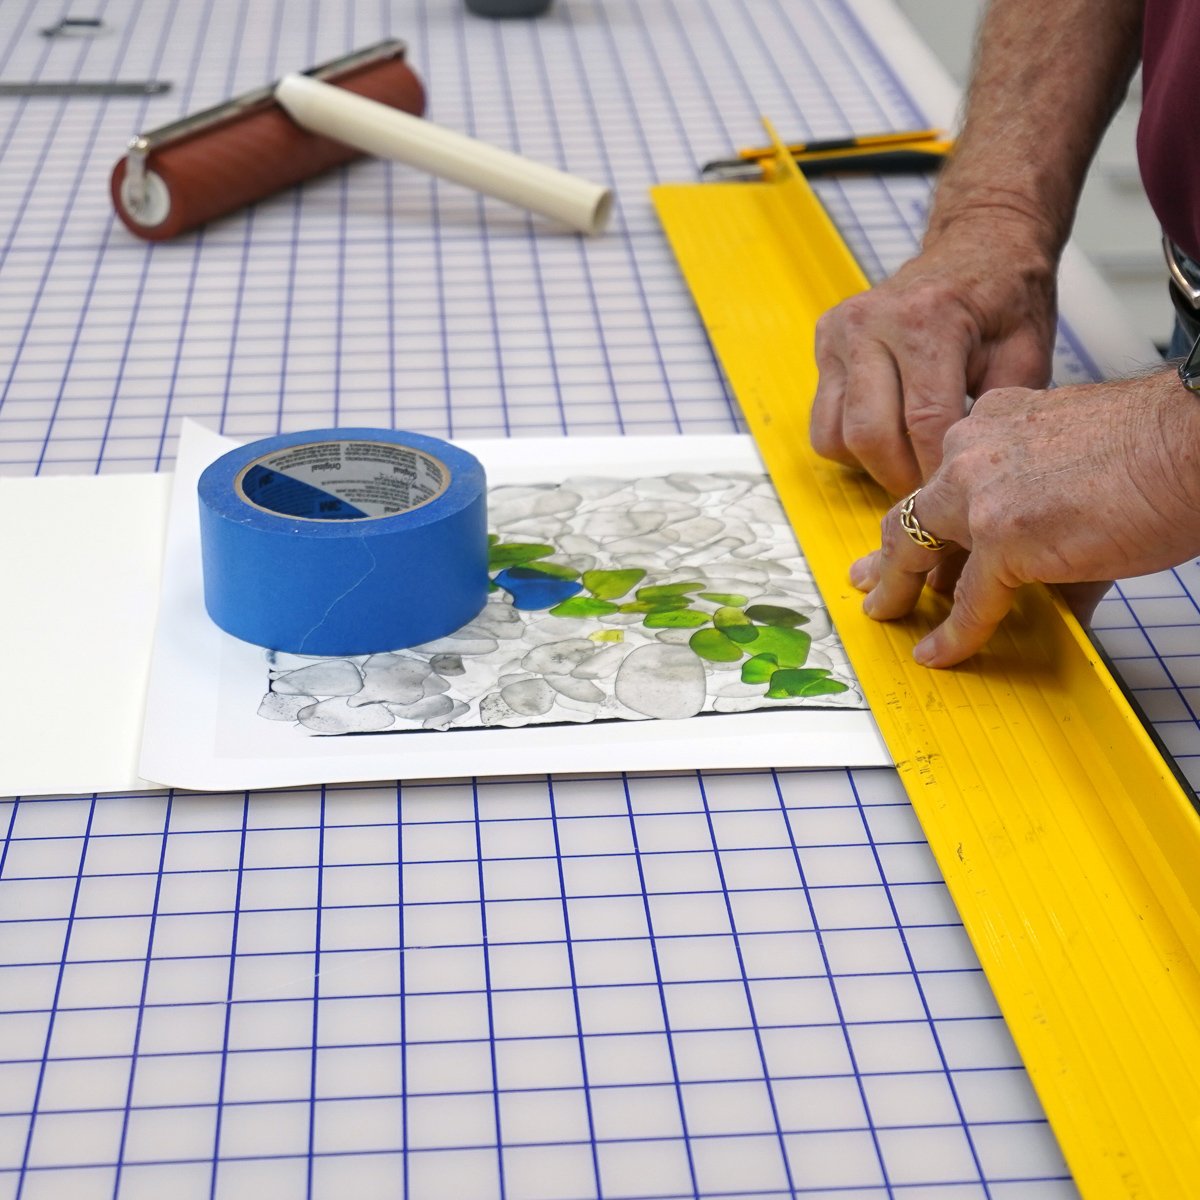
Then, with a weight (in this case blue tape) on the print to hold it in place, I press the edge down onto the exposed adhesive using the back of a flat cutting guard. This helps make sure the top edge of the print is flat and straight. Even with a large print the alignment is perfect.
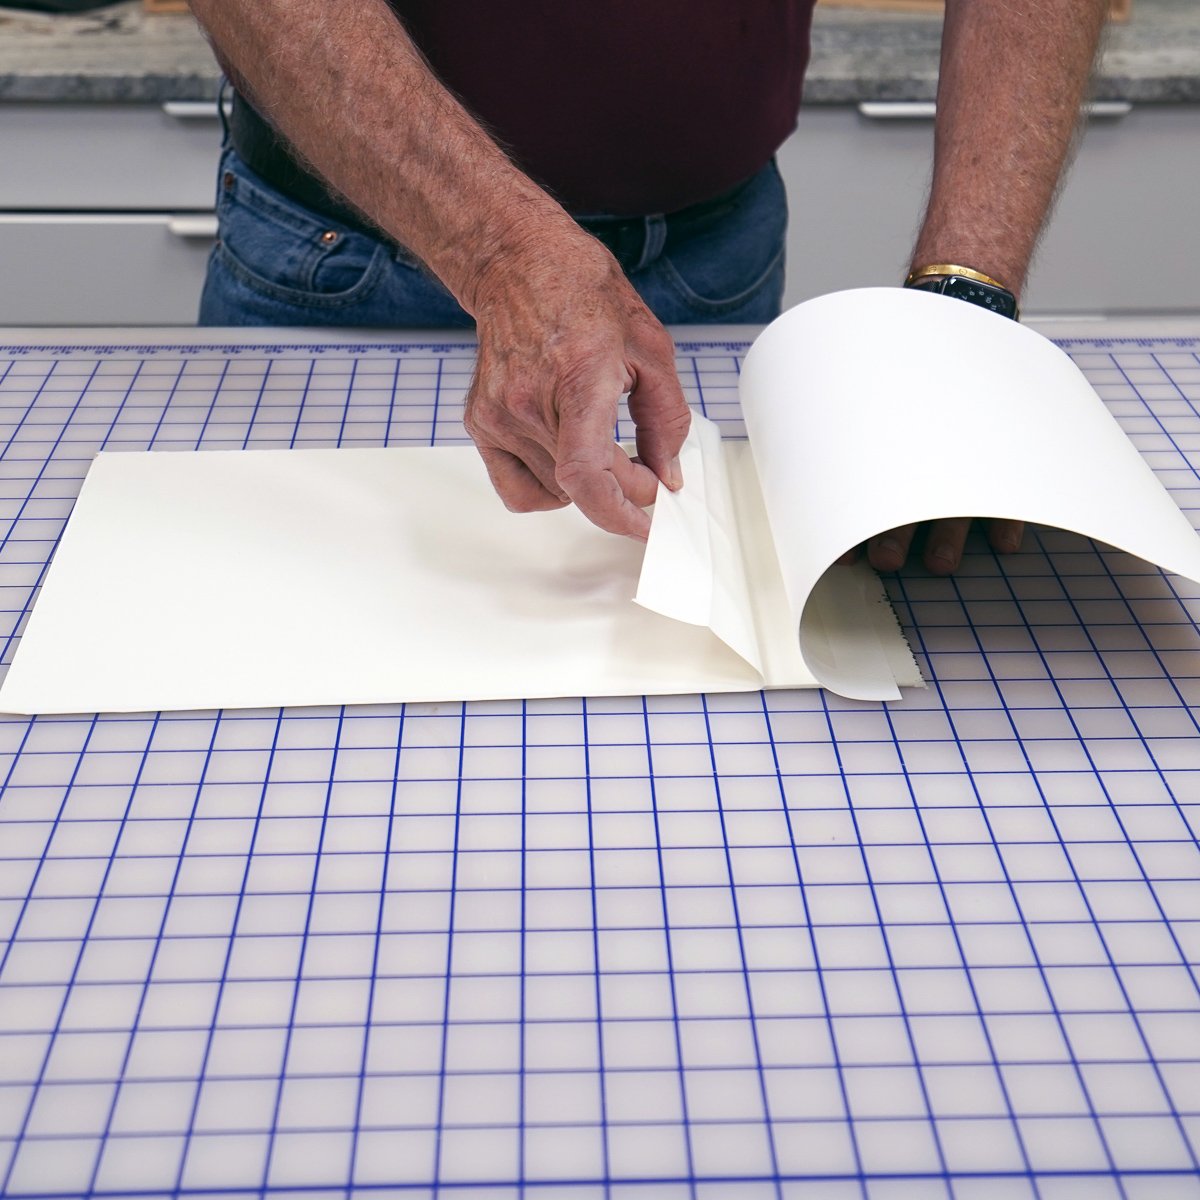
Then I fold the print back out of the way and peel off the release paper.
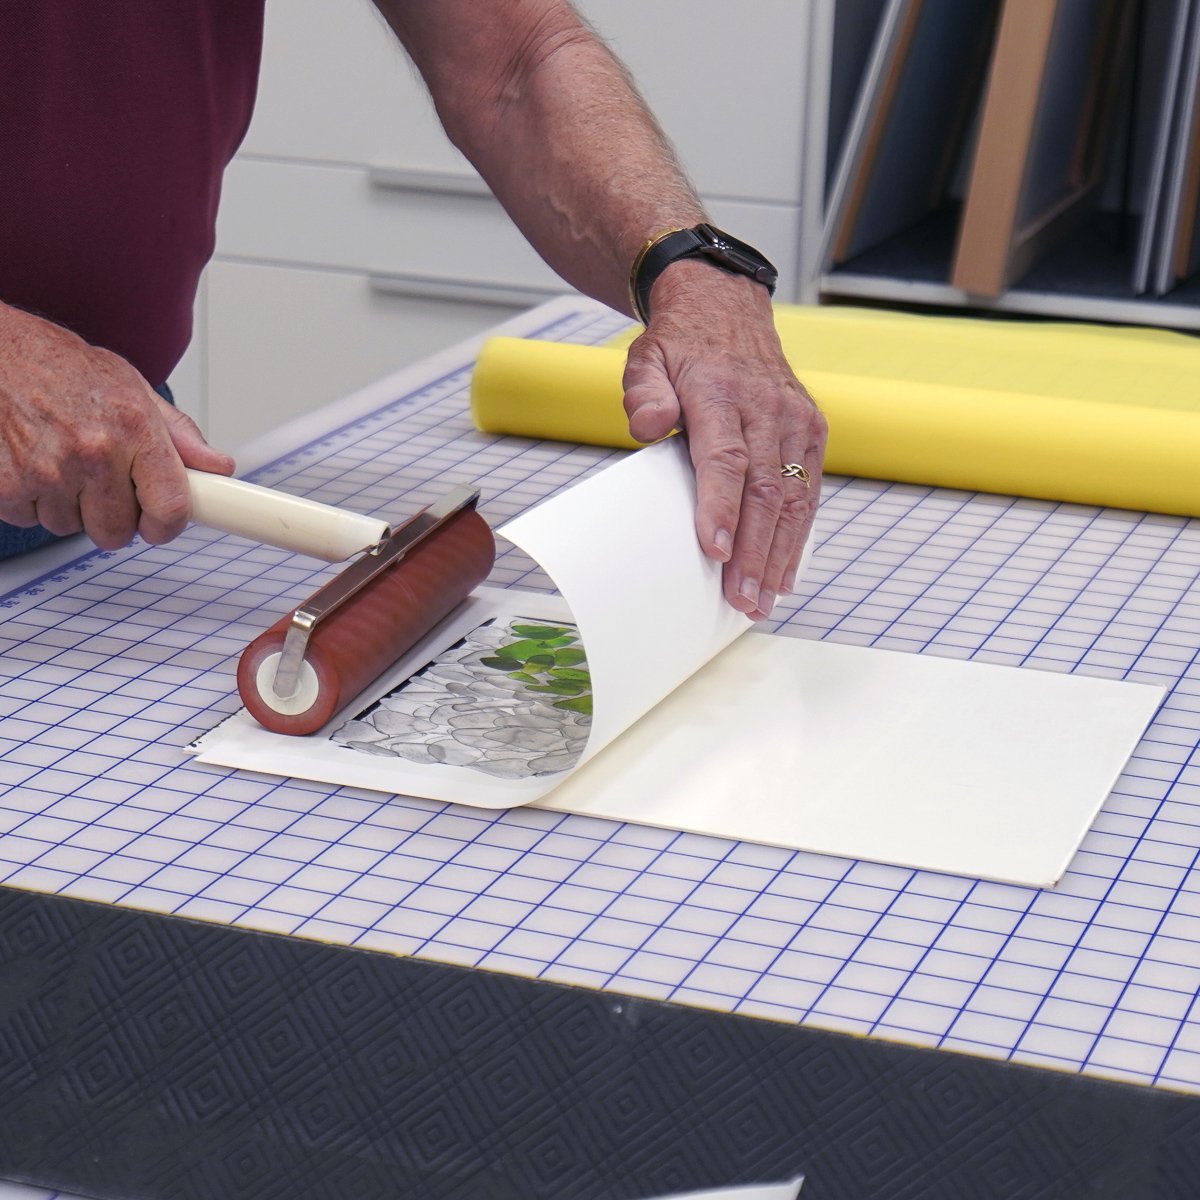
Then the print gets firmly rolled onto the adhesive with the brayer. Note how the print is kept curved as it’s pressed down. This way any unevenness in the print will be straightened. The main thing is to be sure the print is fully adhered with no air bubbles.
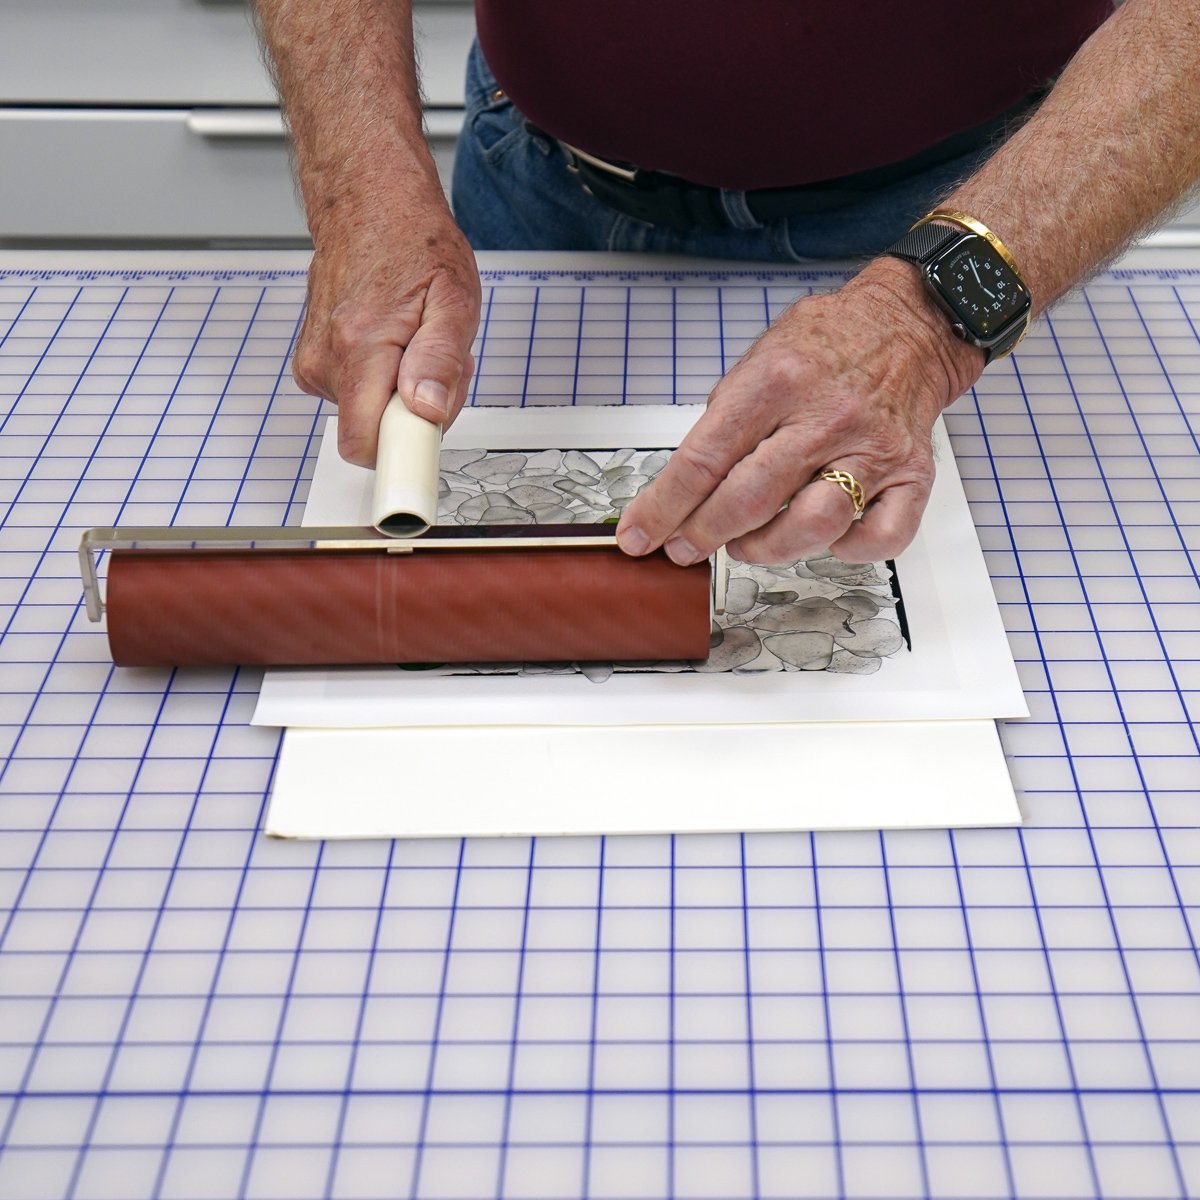
Once fully pressed down, I use the brayer with more pressure, especially around the edges.
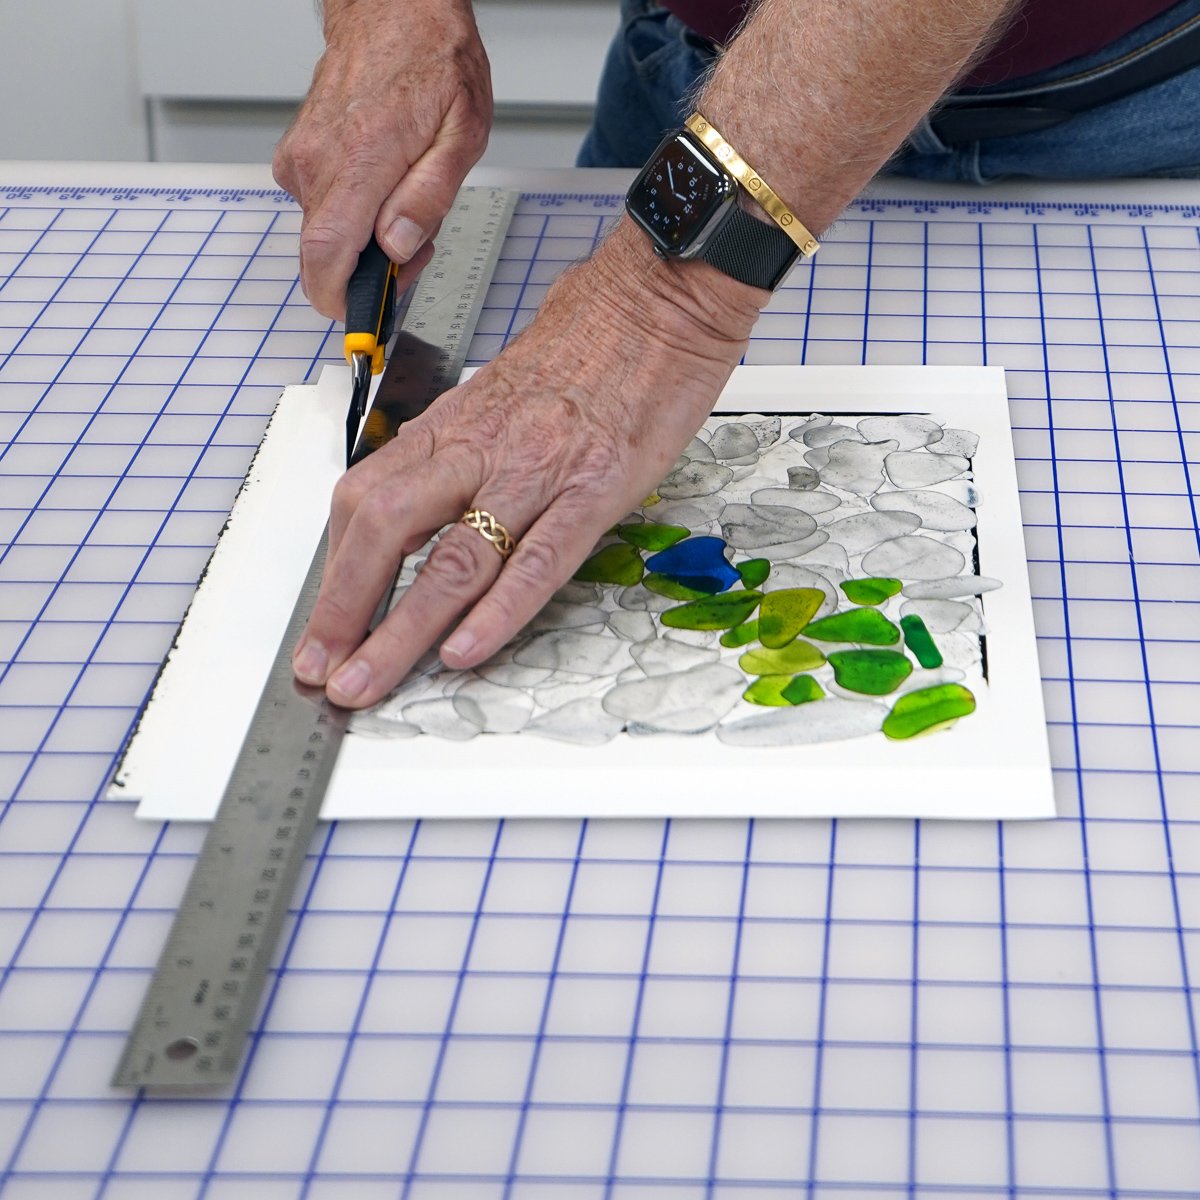
The next step is to trim the laminated print and board down to finished size. This is pretty easy with a small print like this, but trimming a 2 x 6 foot image accurately is much more of a challenge.
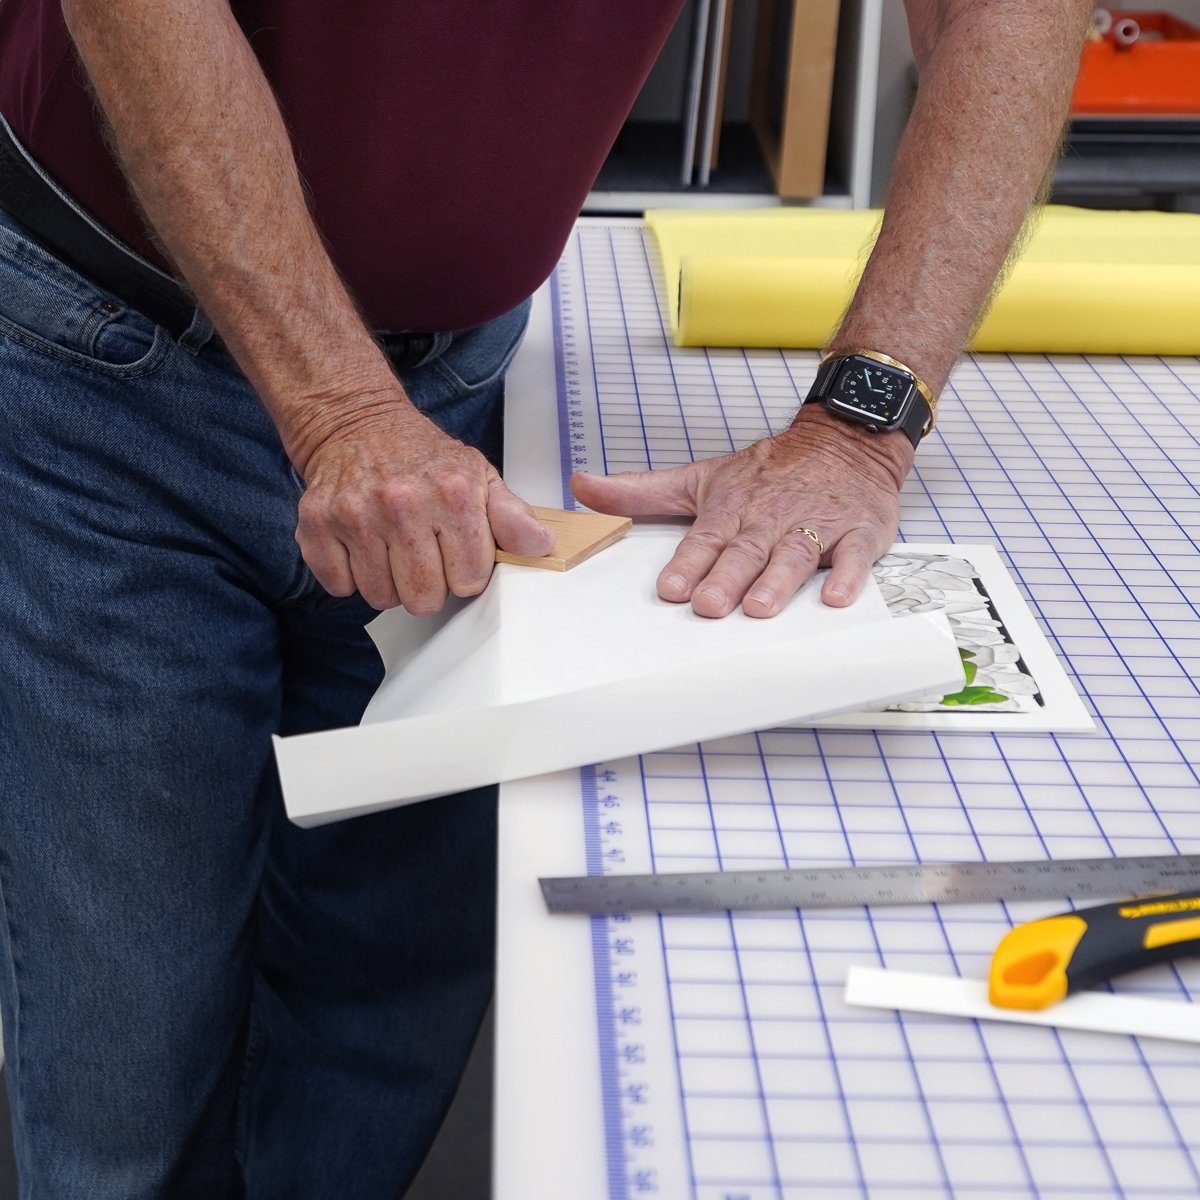
Modern cutting blades are very thin and sharp, but they can still leave a slight burr on the top edge of the print. I like how die cut jigsaw puzzle pieces look, with their edges slightly rounded, so I use a thin piece of hard maple to press the edges to round them a bit. The release paper makes sure the rubbing doesn’t scuff the print surface.
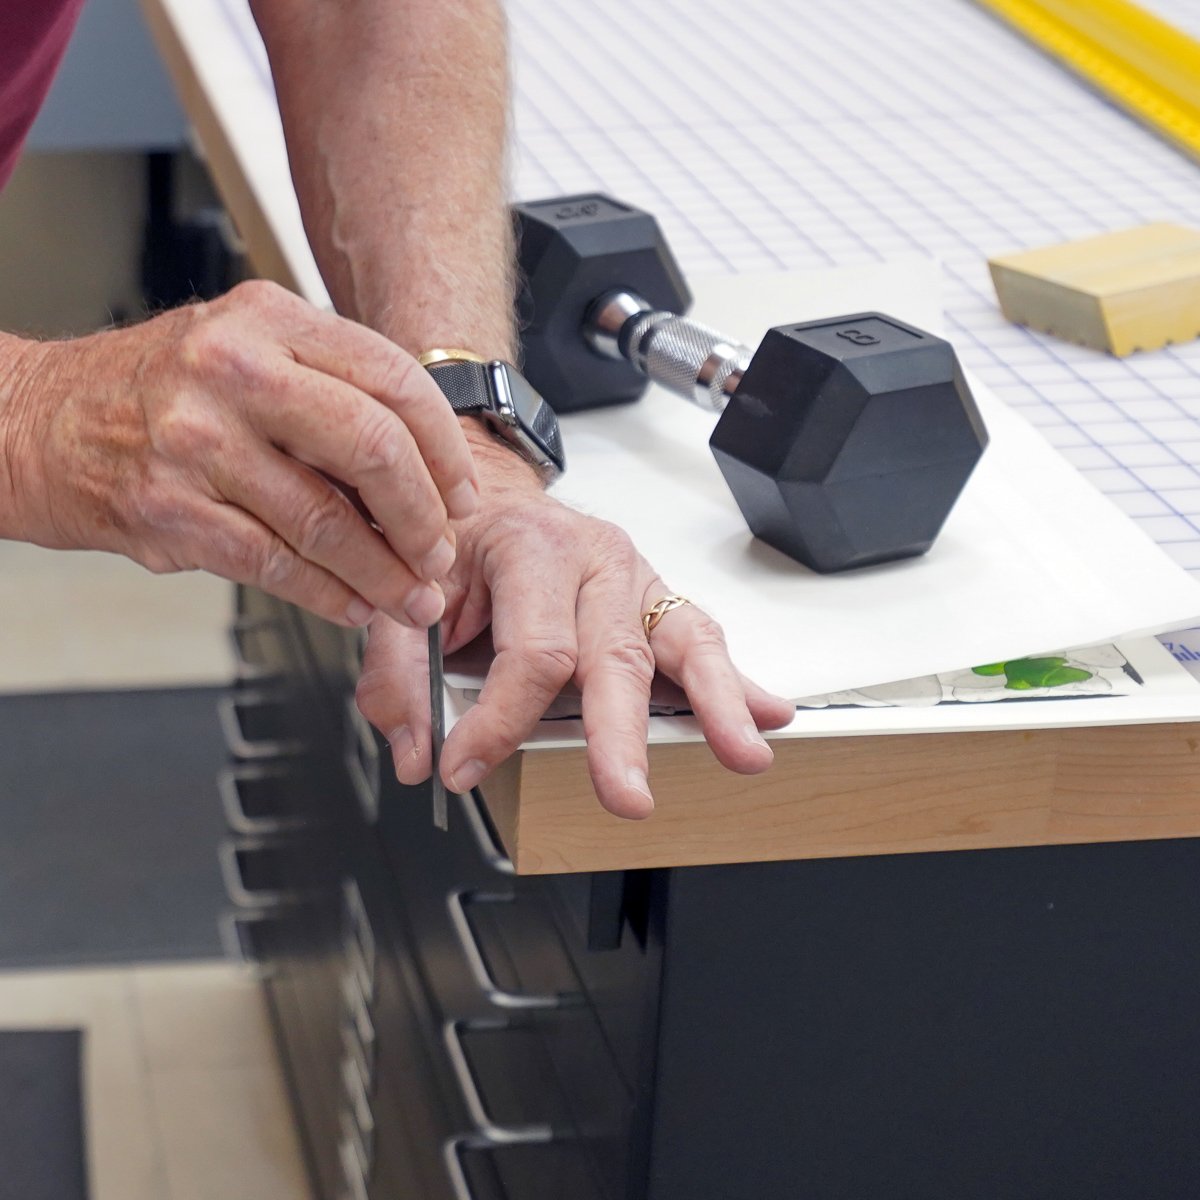
Sharp cutting blades also produce very sharp corners. To me they don’t look natural and are just asking to snag a dust cloth. So using a small, sharp file, I round each of the corners slightly. You don’t really notice the radius from a distance, but they do look better.
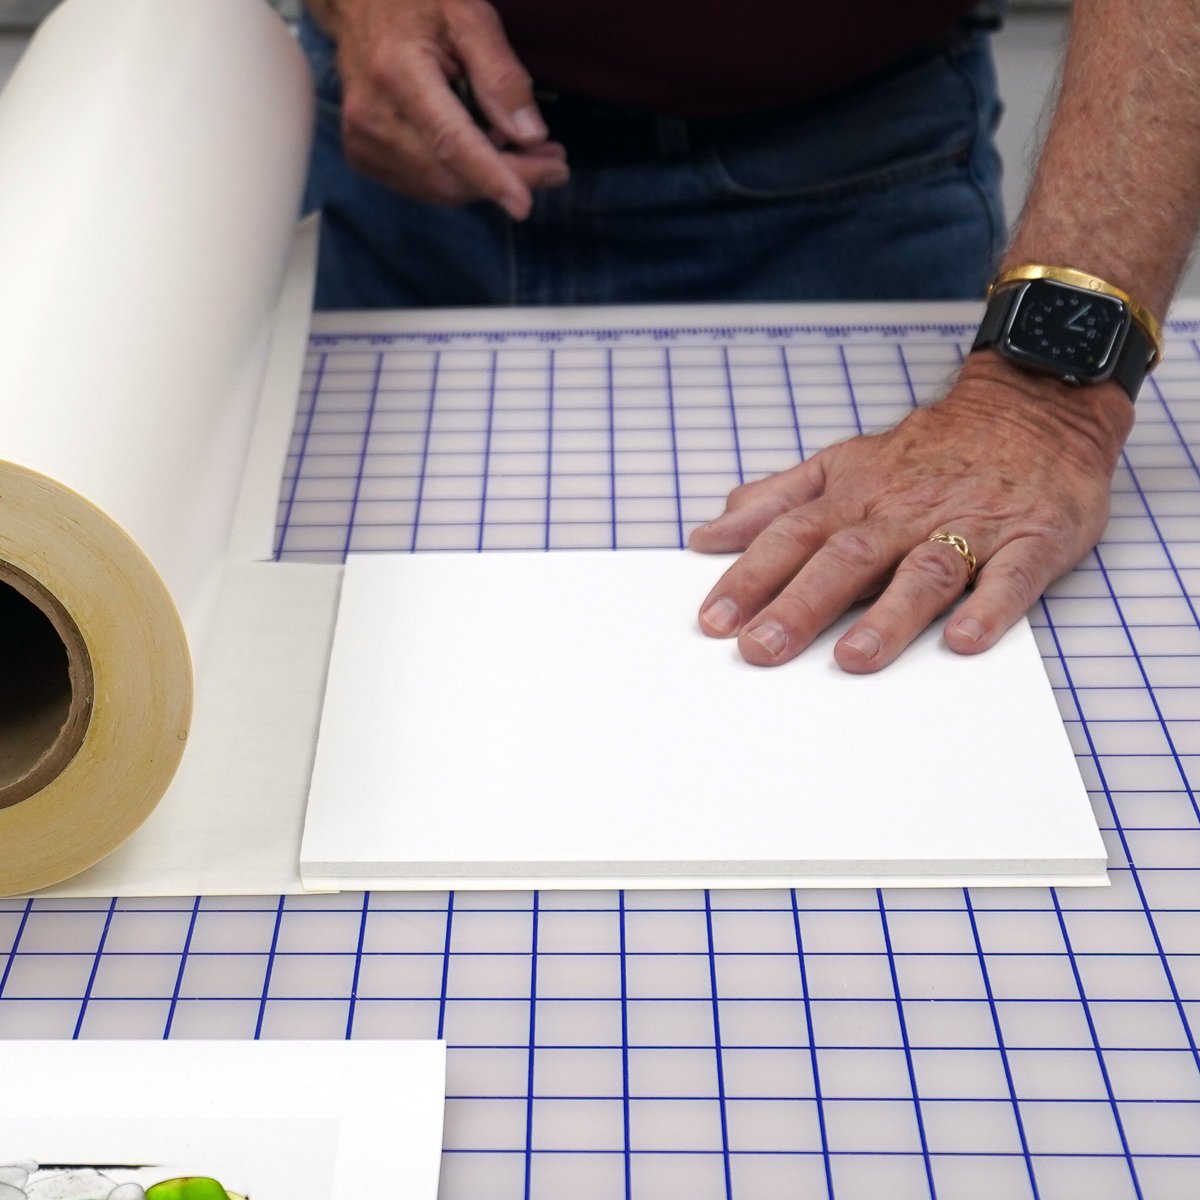
The next step in the laminating process is to add a stiffening backer board to the mounted print. I use a material called Gator board which is like Foam Core but much more rigid and resistant to warping. Part of the desired “floating” look is the thin edge of the mounted print, so I cut the Gator board so it’s a quarter inch smaller than the print all the way around. Here I’m applying the same adhesive film to a piece of Gator board.
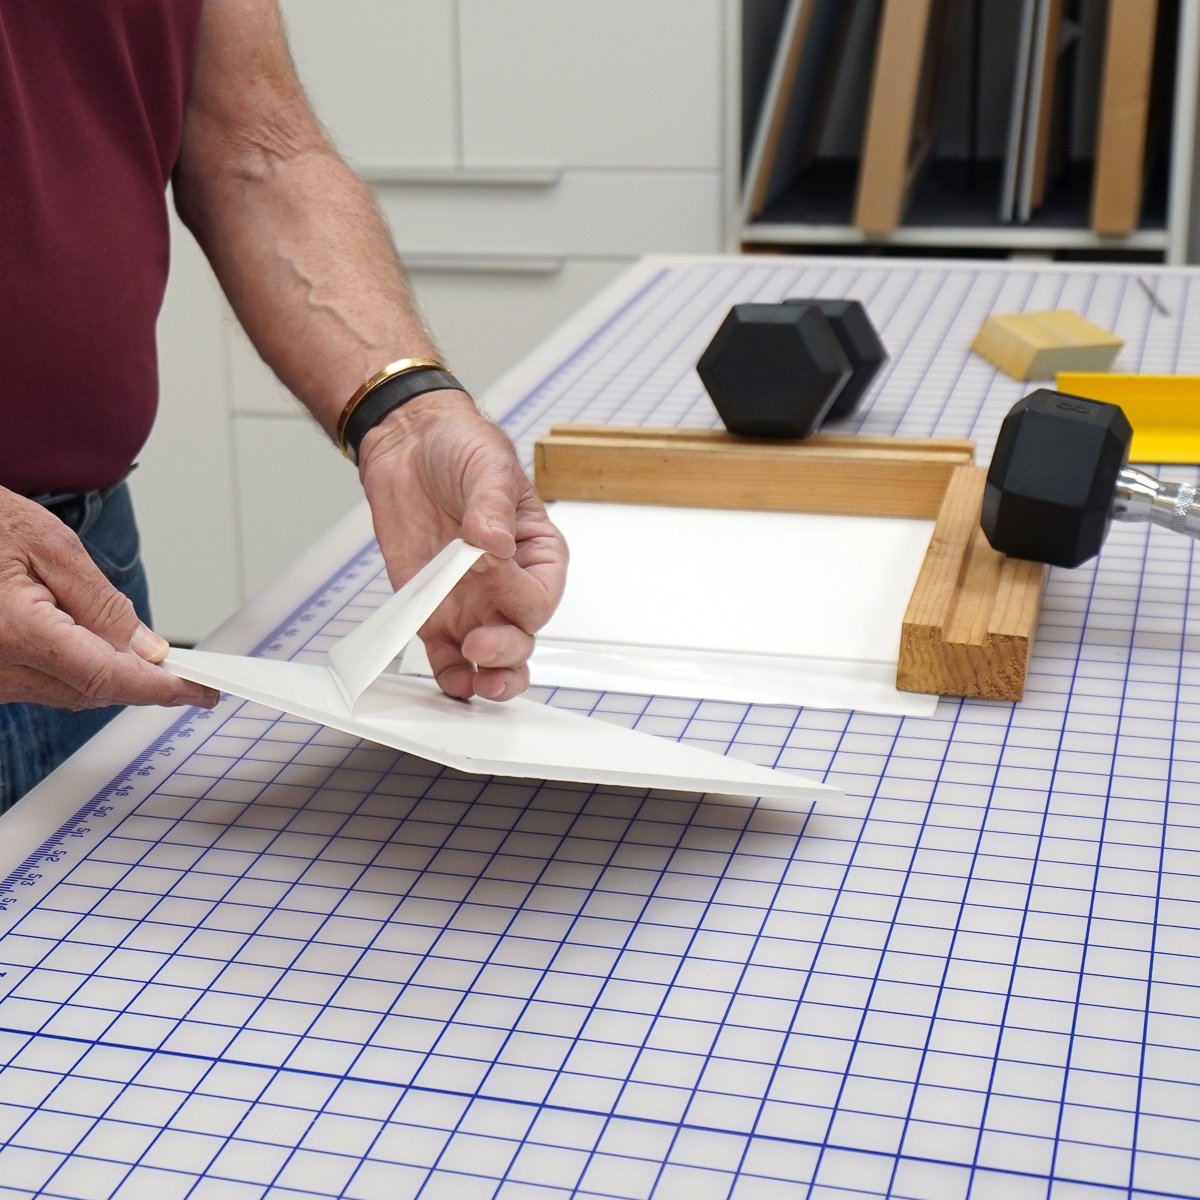
Once the excess adhesive is trimmed from the Gator board, I use a pair of wooden guides with weights to center it. This is tricky with larger images because the adhesive is unforgiving if put down in the wrong place.
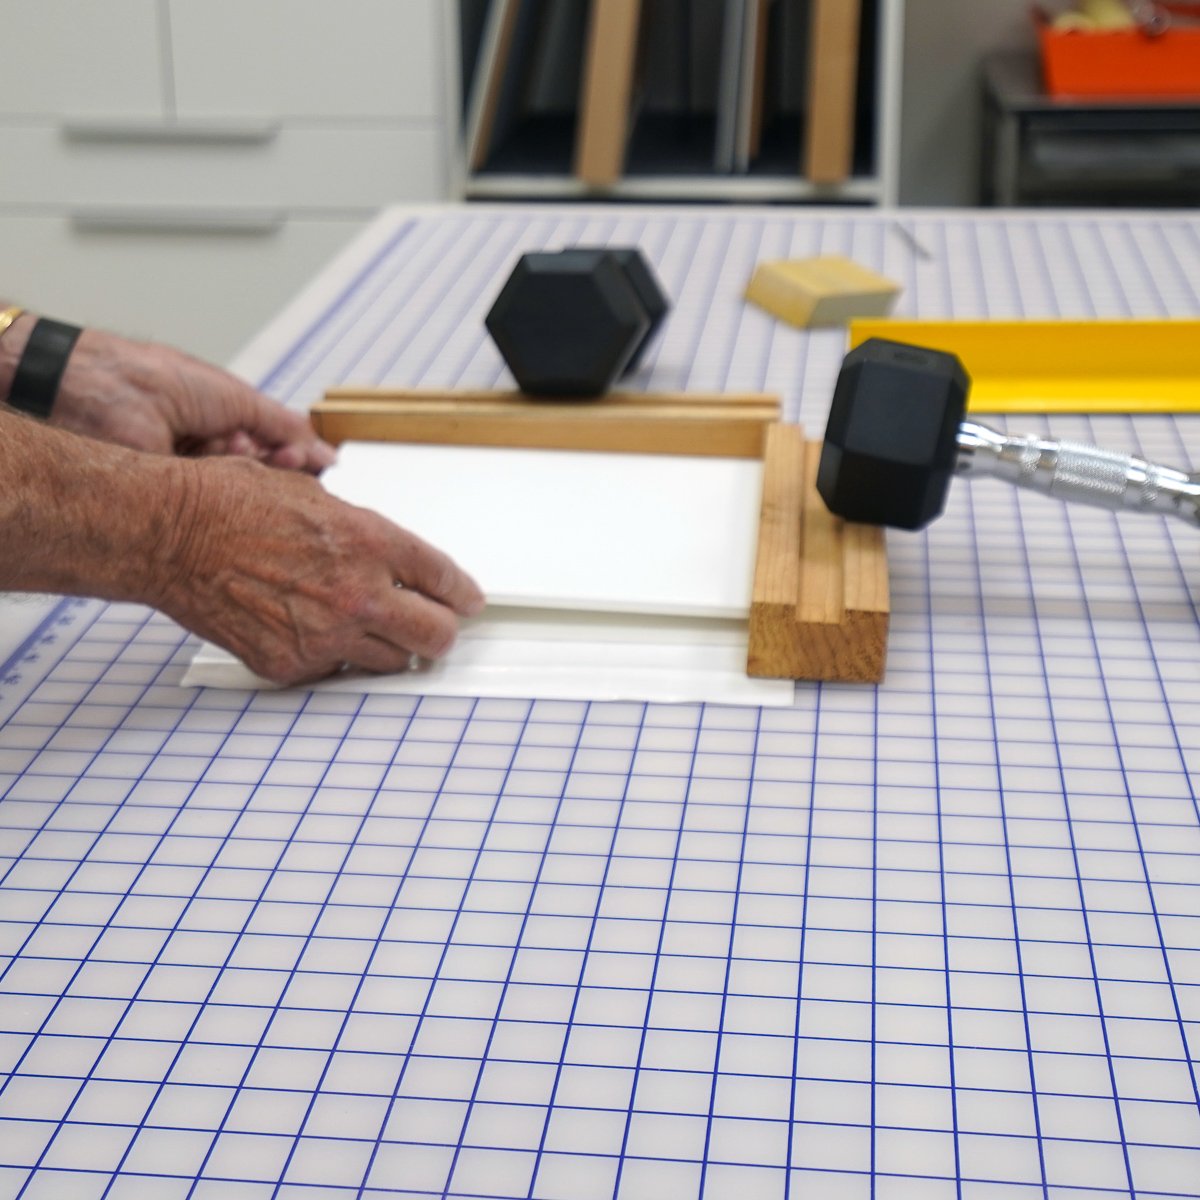
Using the wooden guides, the adhesive side of the Gator board is dropped onto the back of the mounted print.
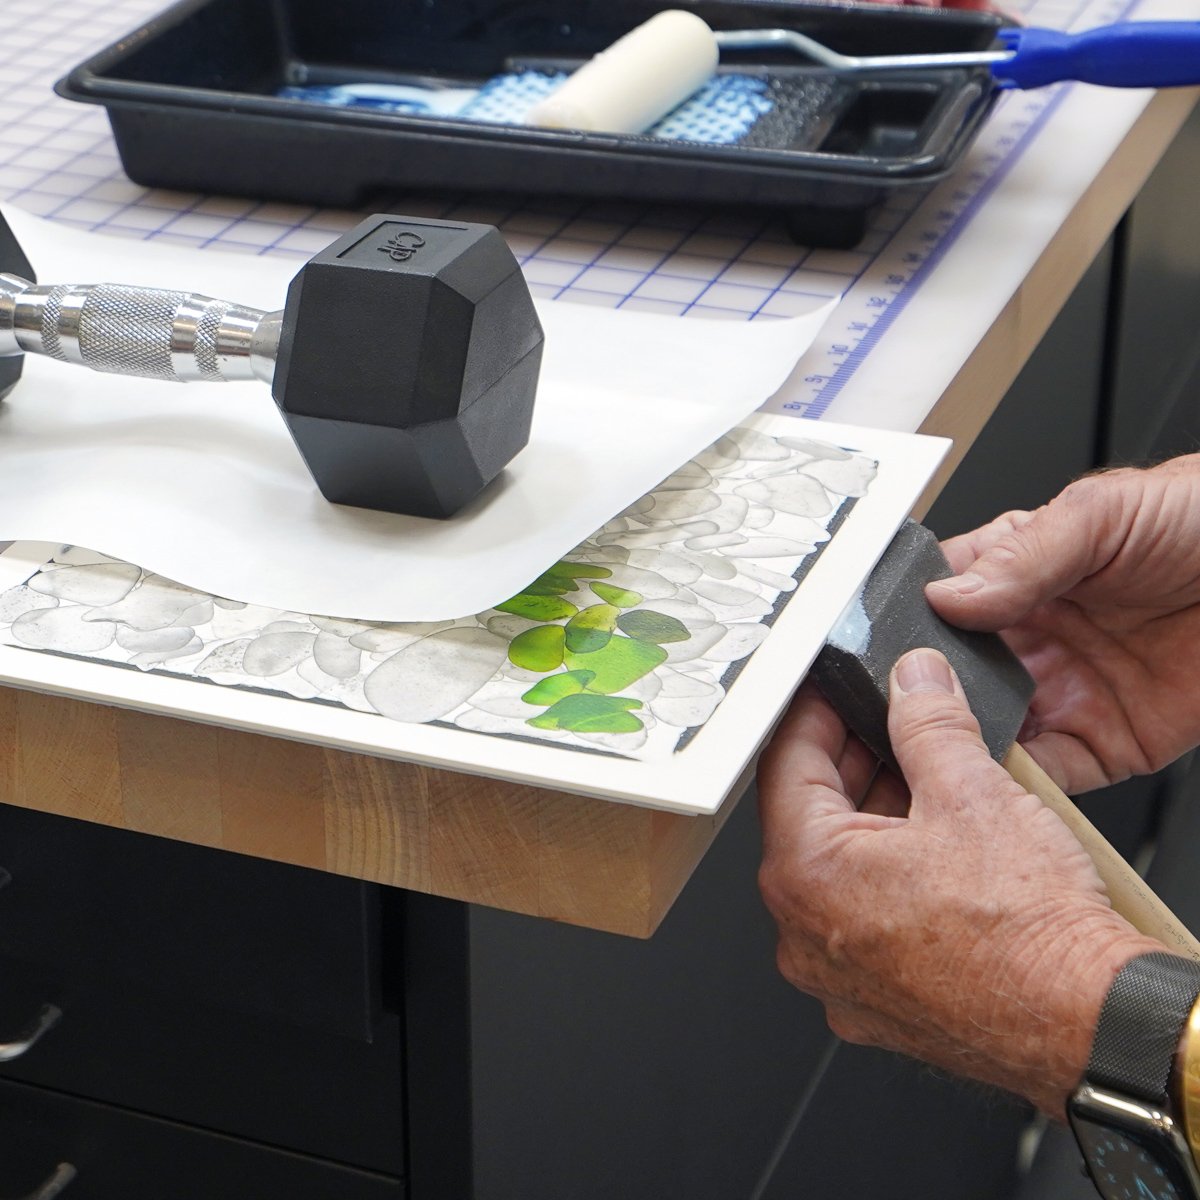
One of the last steps in finishing the print is to seal the edges with the same Eco Print Shield used for the final coat on the surface of the print. Keep in mind that the acid-free mat board is basically layers of cotton rag paper pressed together, so it readily soaks up the sealer. Once dry, the layers of paper in the board are bonded together and the edges, especially the corners, are much more durable. This edge coating also seals the quarter inch of exposed board on the underside of the print.
Making the frame is the next part of the process. I use the same molding profile from Larson Juhl (a leader in the framing industry owned by Berkshire Hathaway) in several hardwood types. For this demo image I’m using bleached maple.
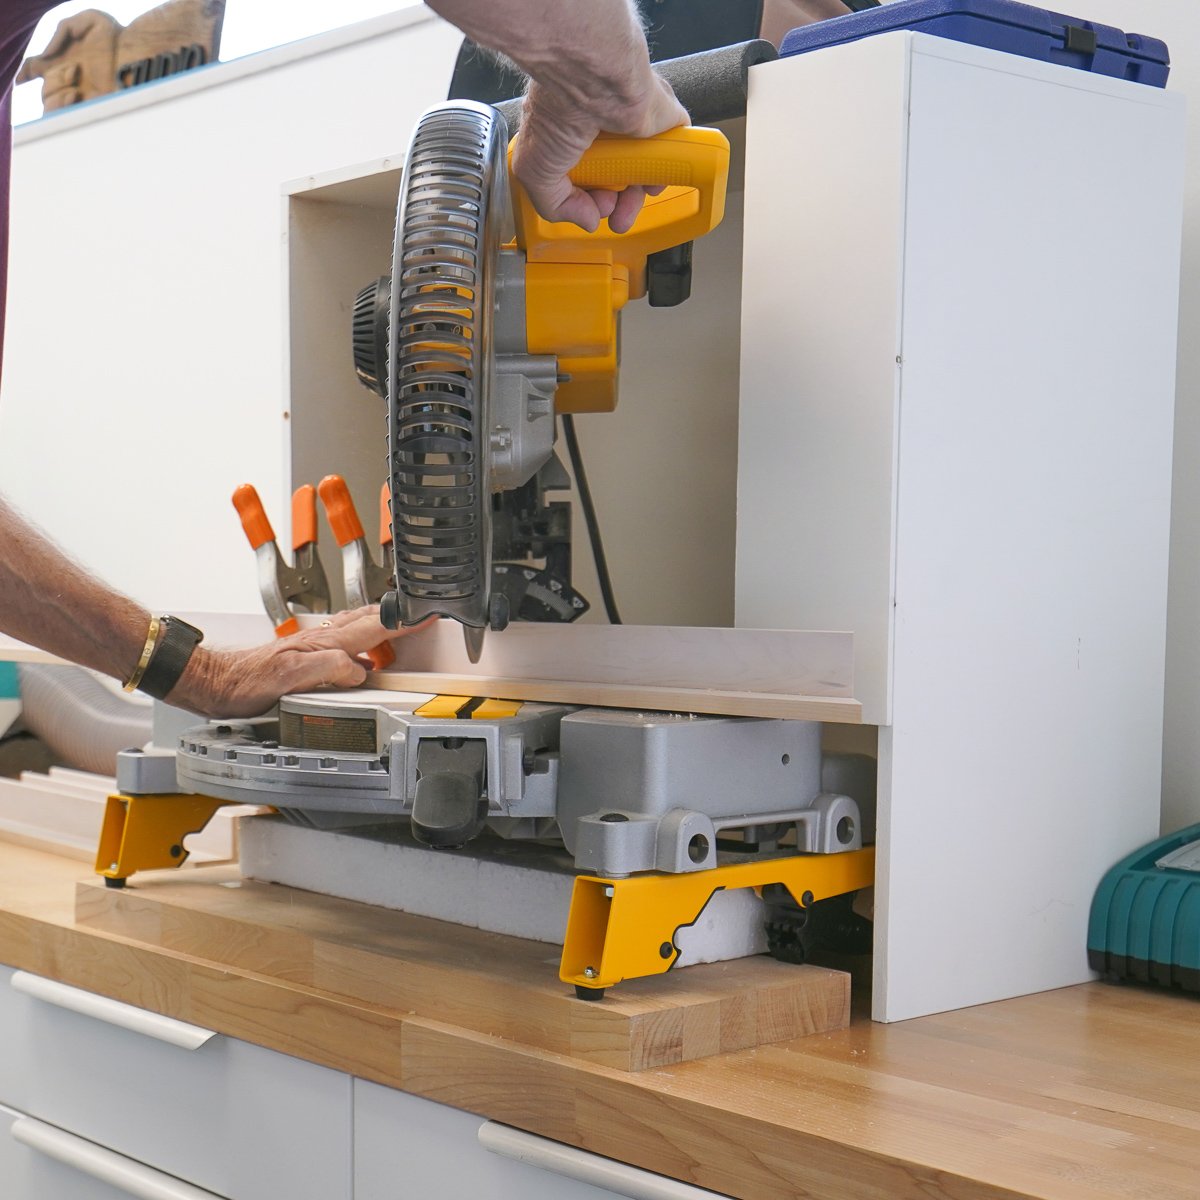
Frame legs are cut on a big miter saw with a very sharp blade. Main tricks are to be sure the legs are exactly the same length and that the cuts are square to the outside face of the molding, not the bottom. The orange clamps above my hand are there to hold the outside face firmly against the fence of the saw.
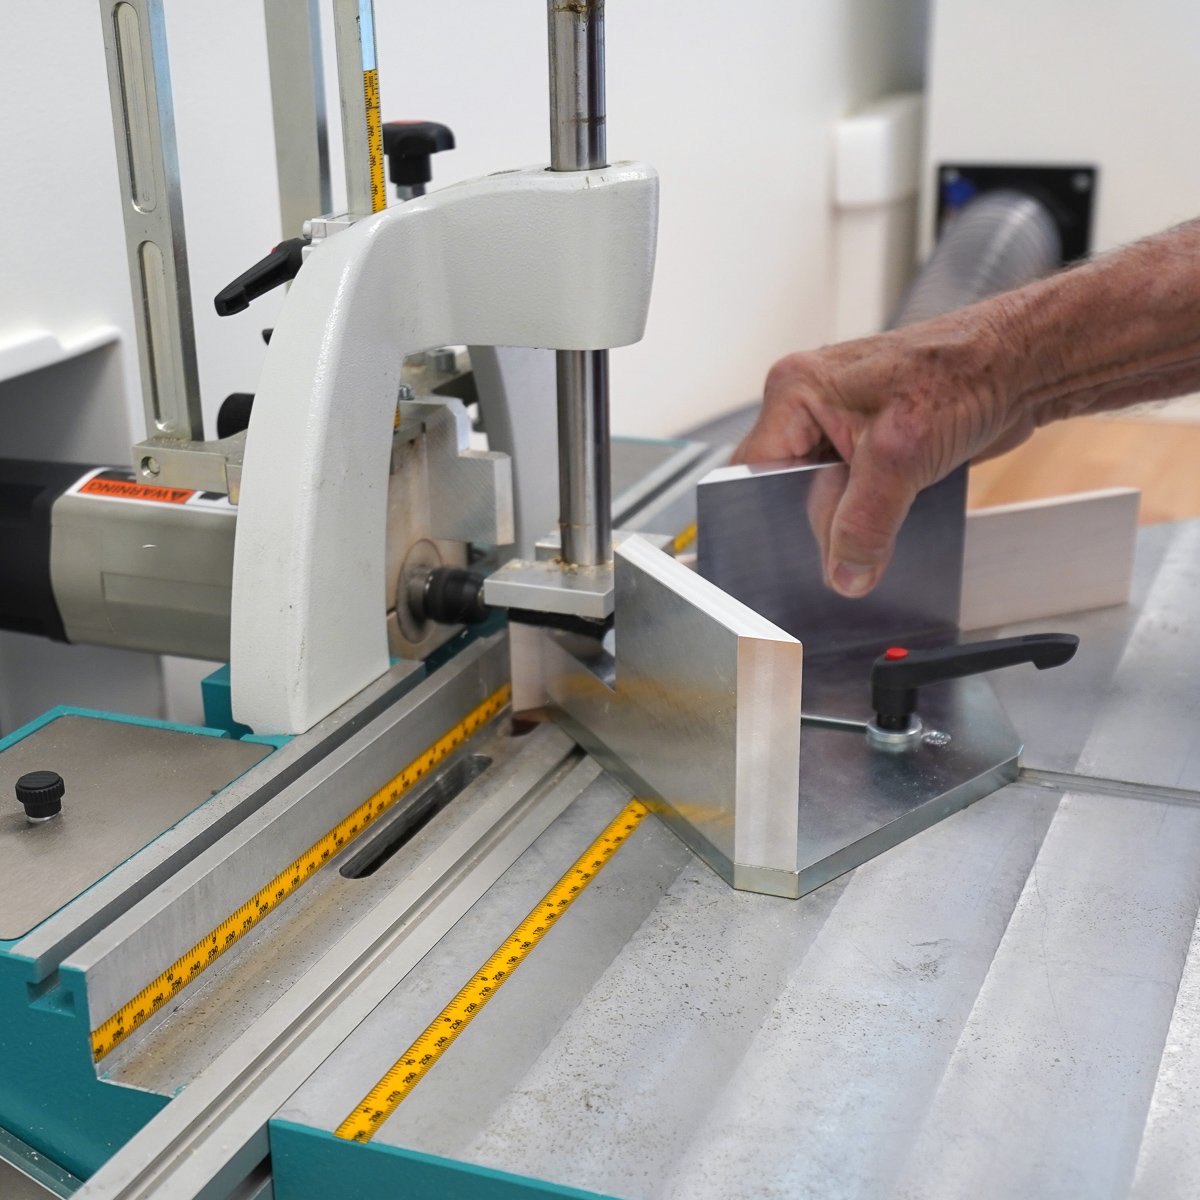
Next I use a dovetail router to cut key channels in the back of the molding. After trial and error with several other ways of joining frames, this is by far the best as you will see.
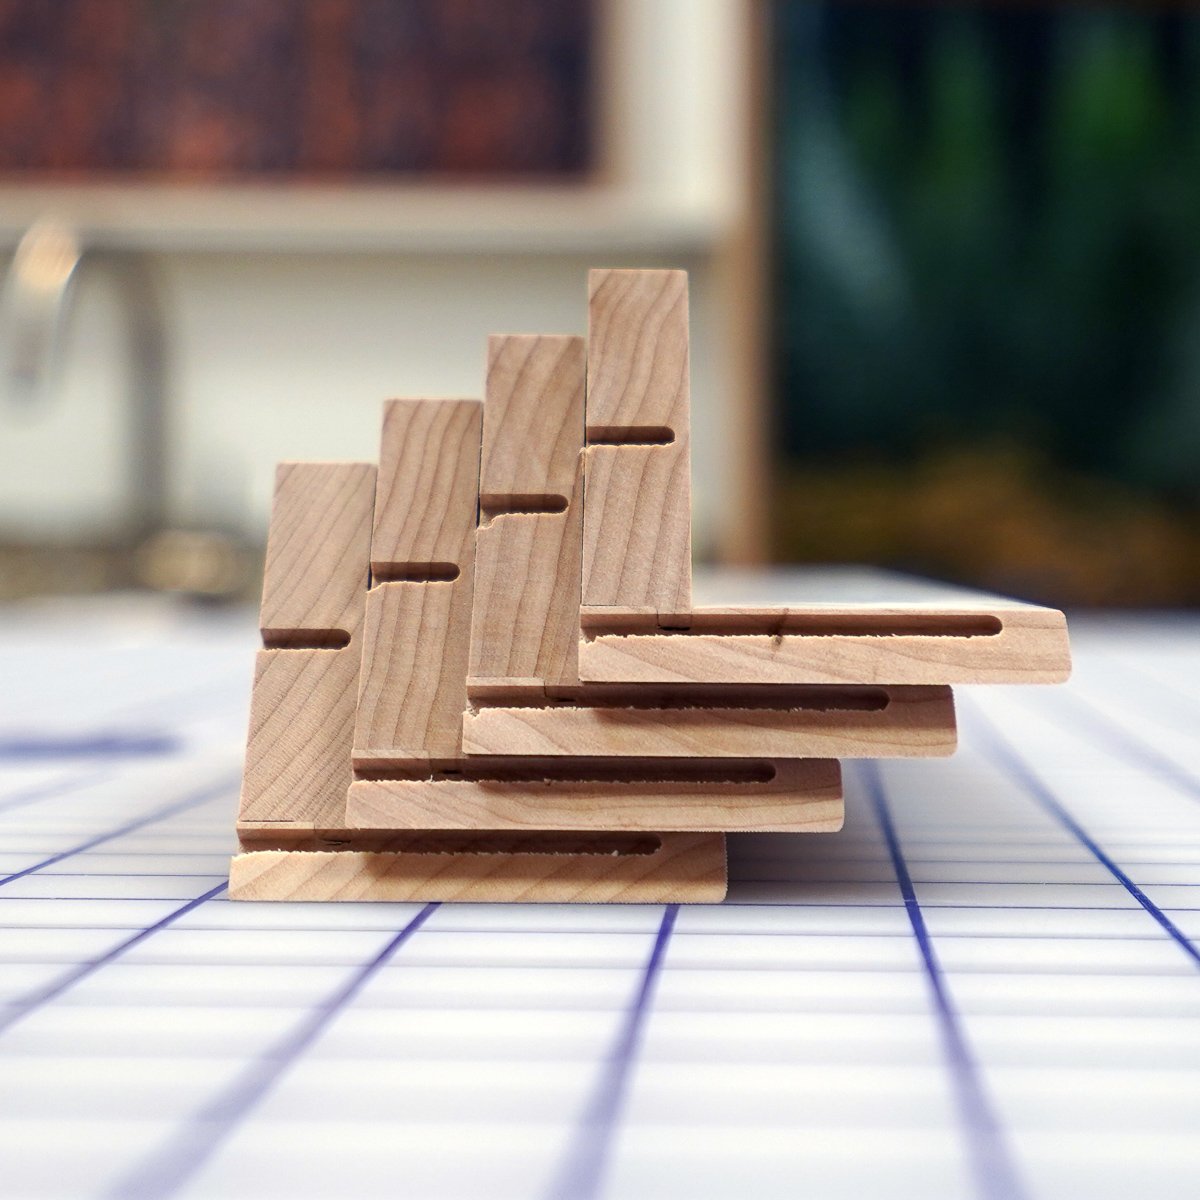
Here are the dovetail channels cut by the router. You can see how far they go up through the outside faces of the frame resulting in enormously strong corners. The shorter key in the thicker bottom just adds to the strength of the frame.
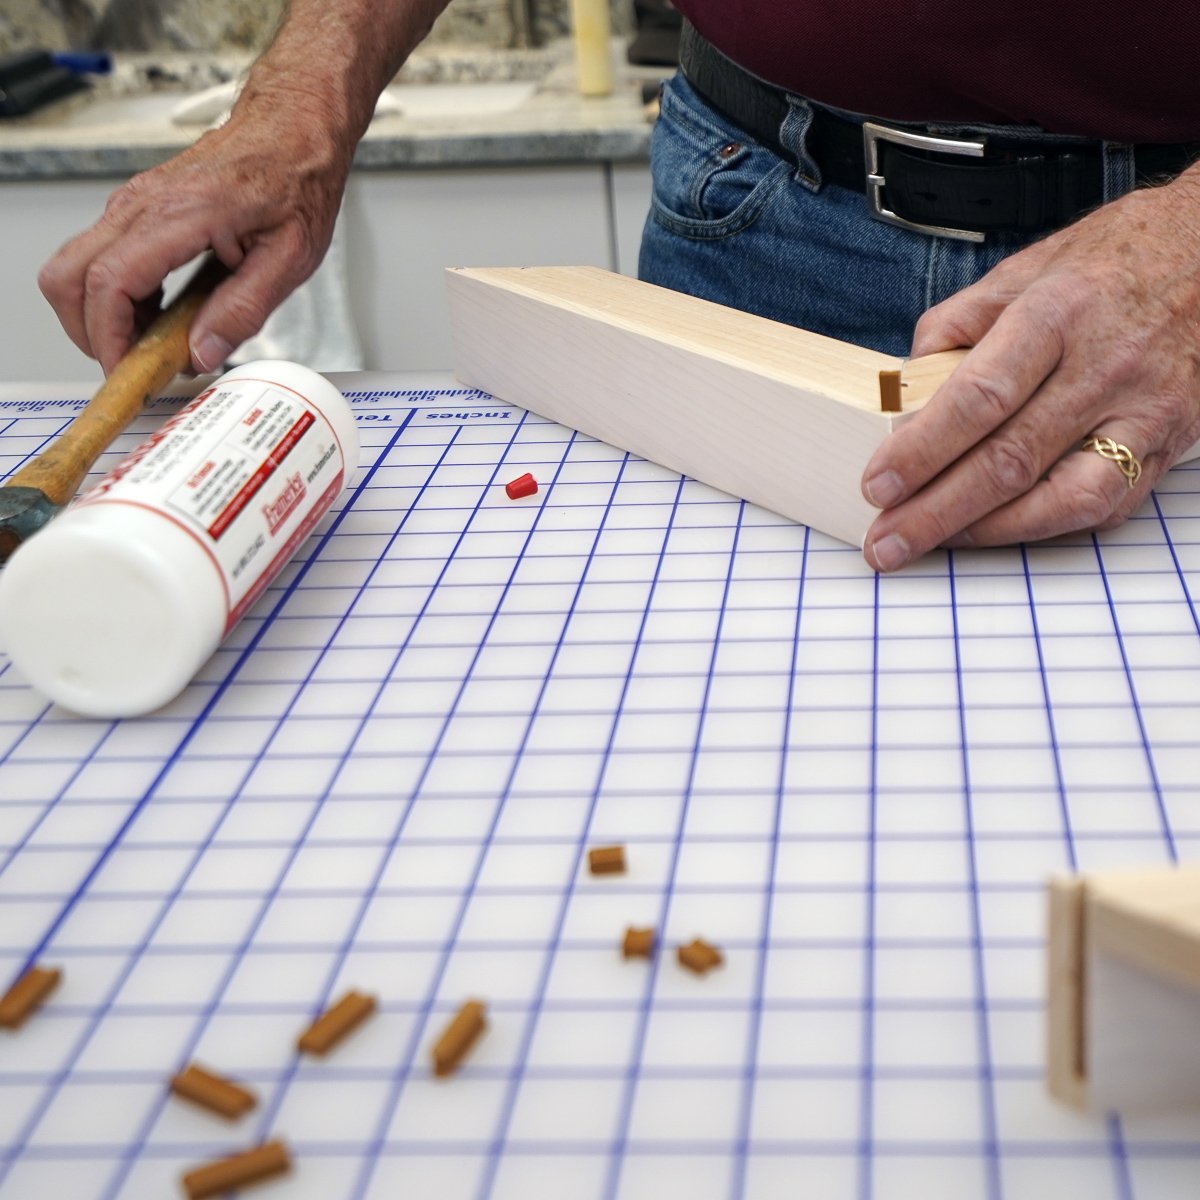
The nicest thing about these dovetail corners is that, compared to various V-nail and clamping alternatives, they make frame assembly very easy, even with larger frame legs. After a bit of glue is applied to one side of a corner, the plastic keys are tapped into the channels, squeezing the joint together with no clamps. Three keys (two long and one short) are used in every corner.
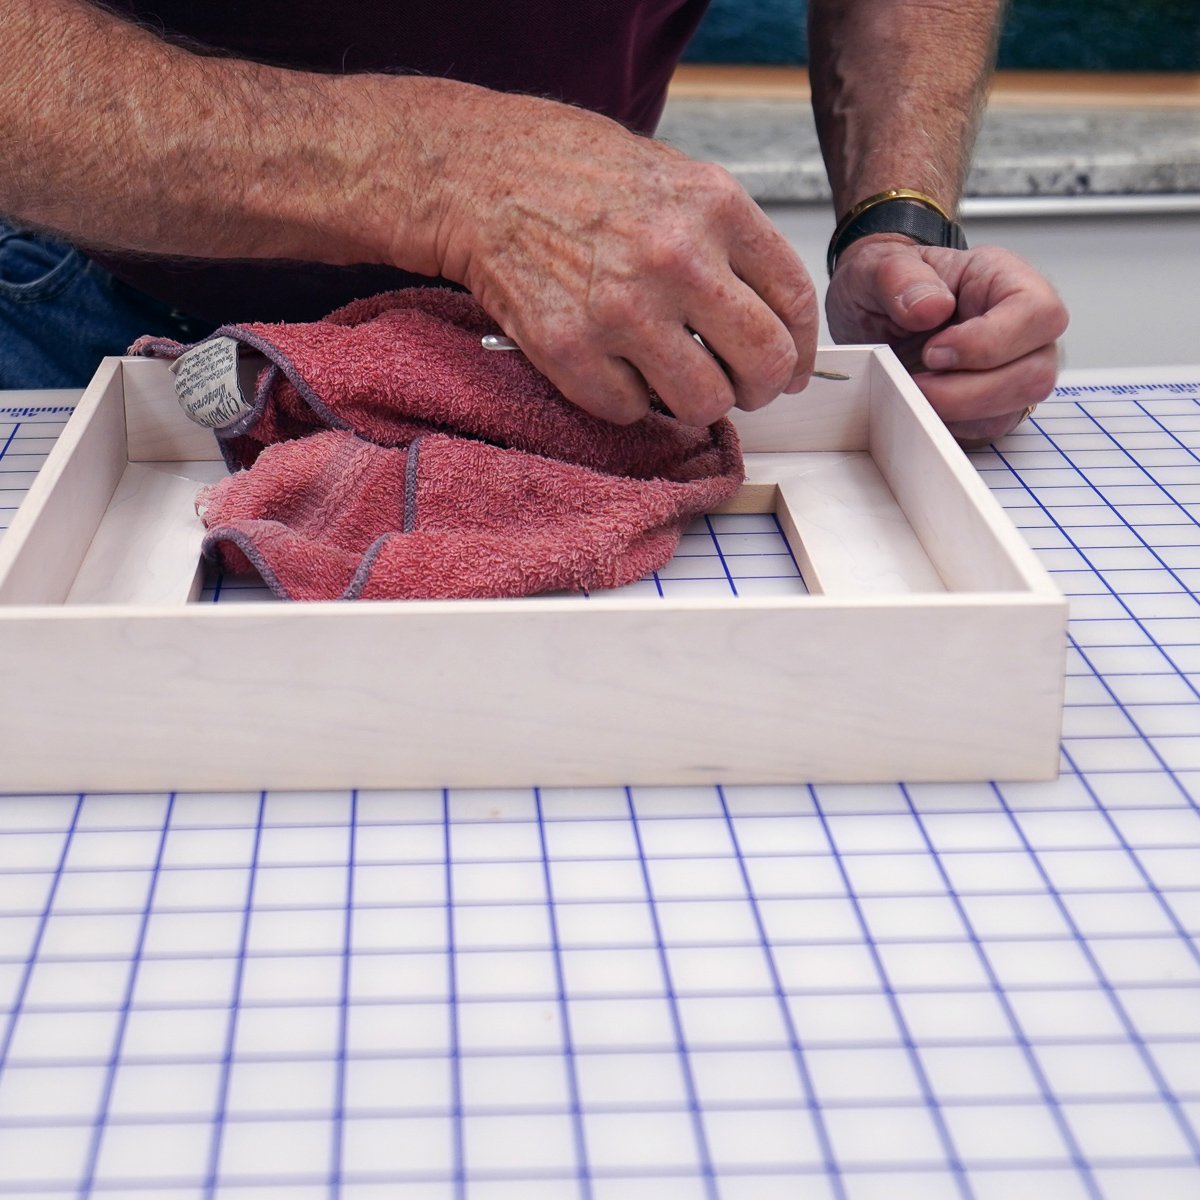
Once assembled, I spend a few minutes making sure there is no excess glue in the corners, front and back.
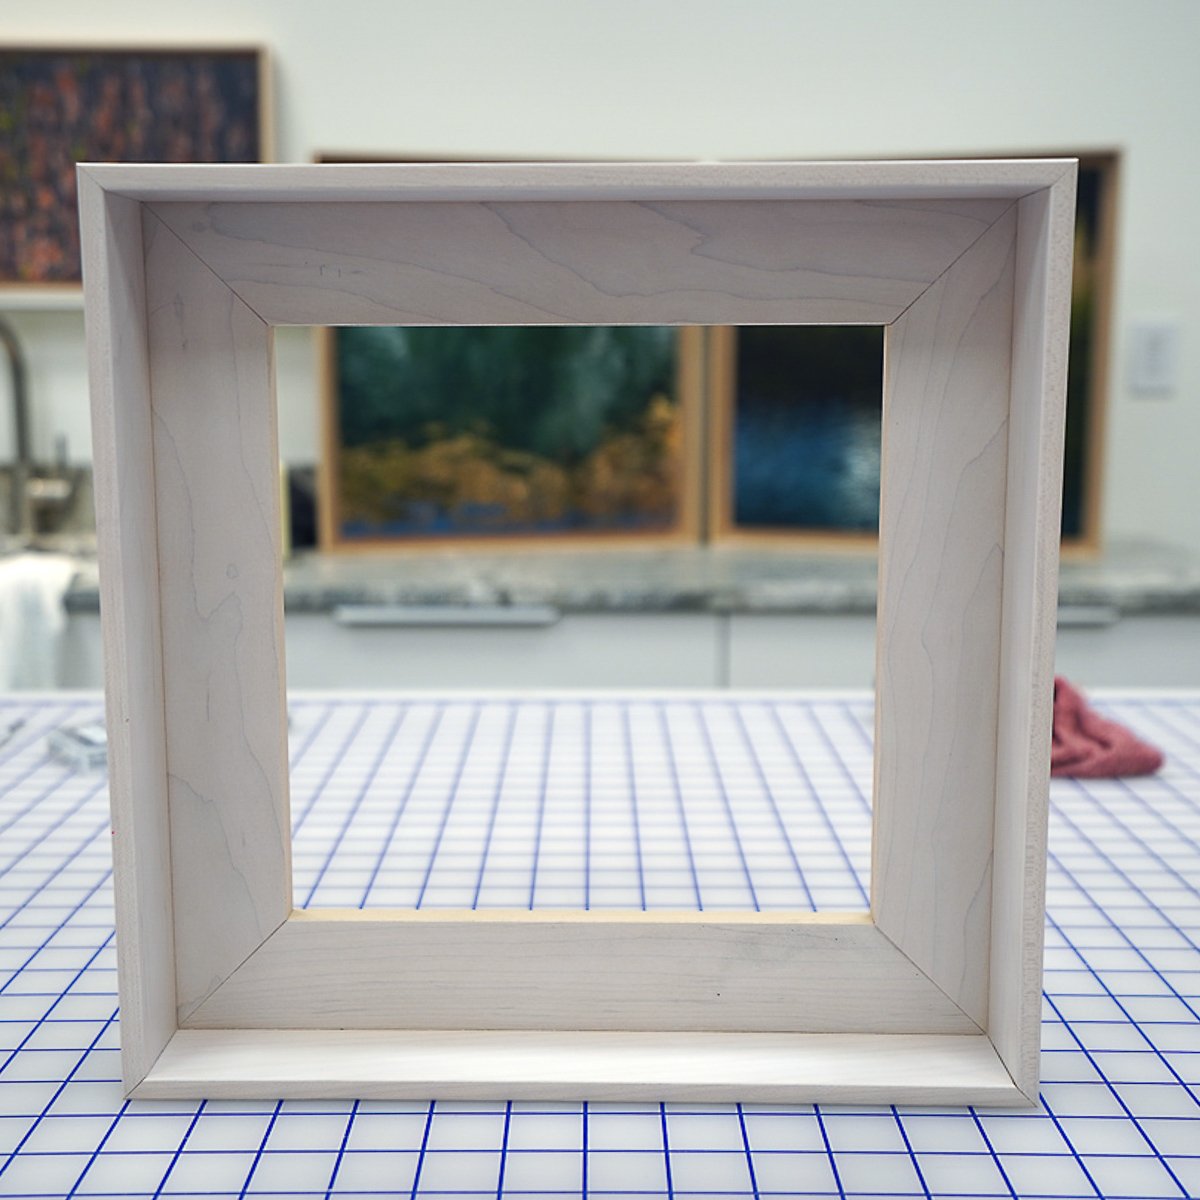
Here’s the finished frame, ready for final assembly.
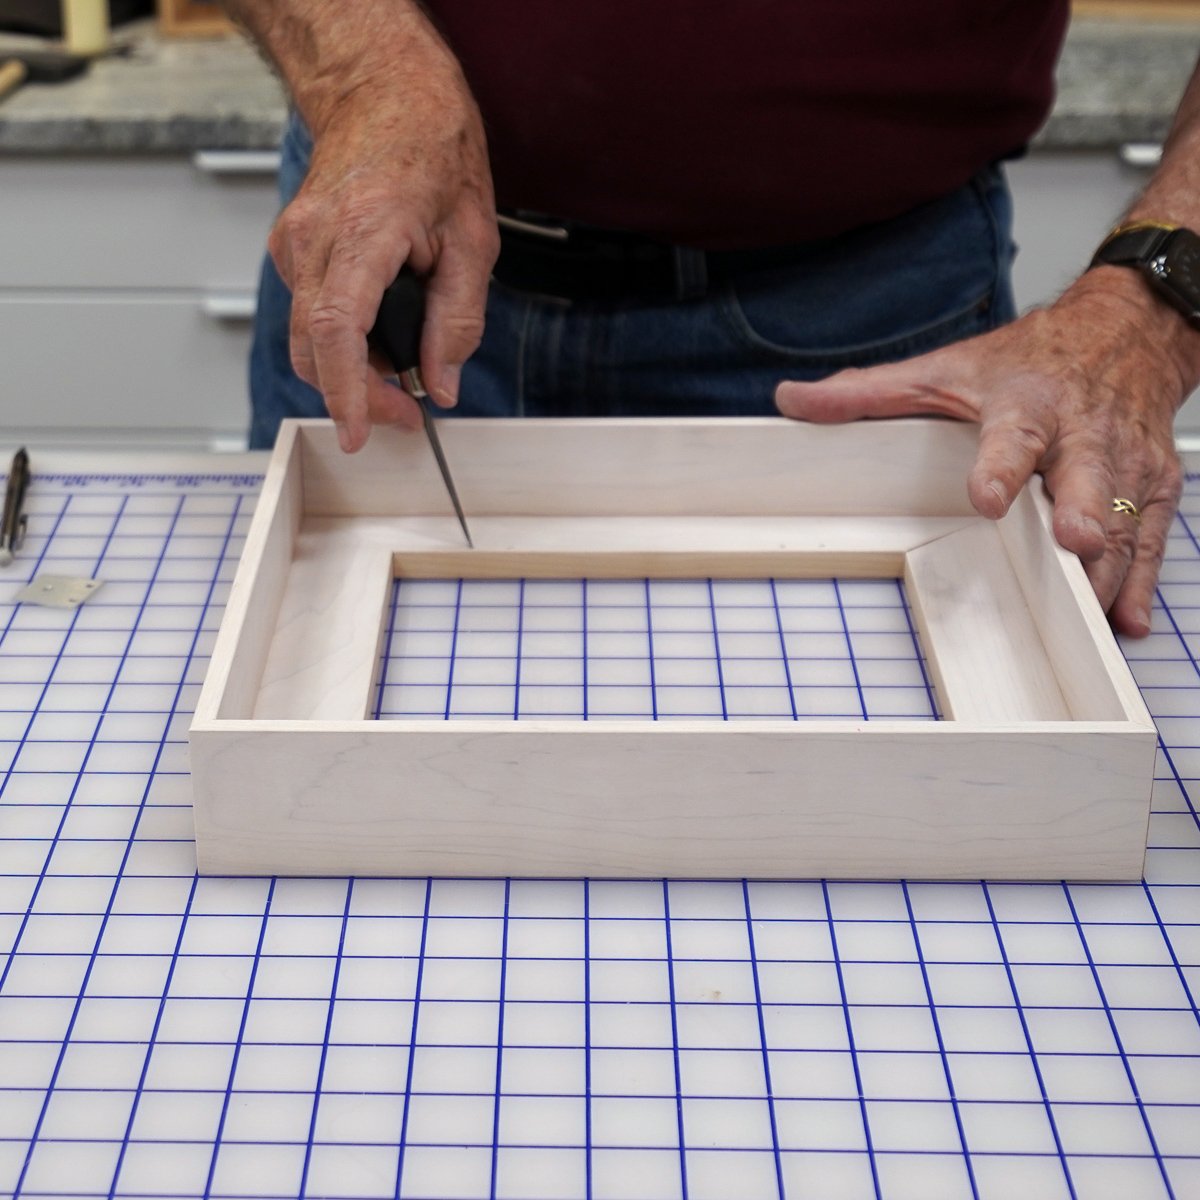
To build up the float-mount effect, I use a number of wooden slats depending on the size of the print. An early challenge was to find the best way to firmly attach the slats to the inside of the frame. I tried a couple of home-made tab designs but ended having them made from aluminum. The first step is to mark the positions of mounting screws along the edge of the frame using the grid on the work table as a guide.
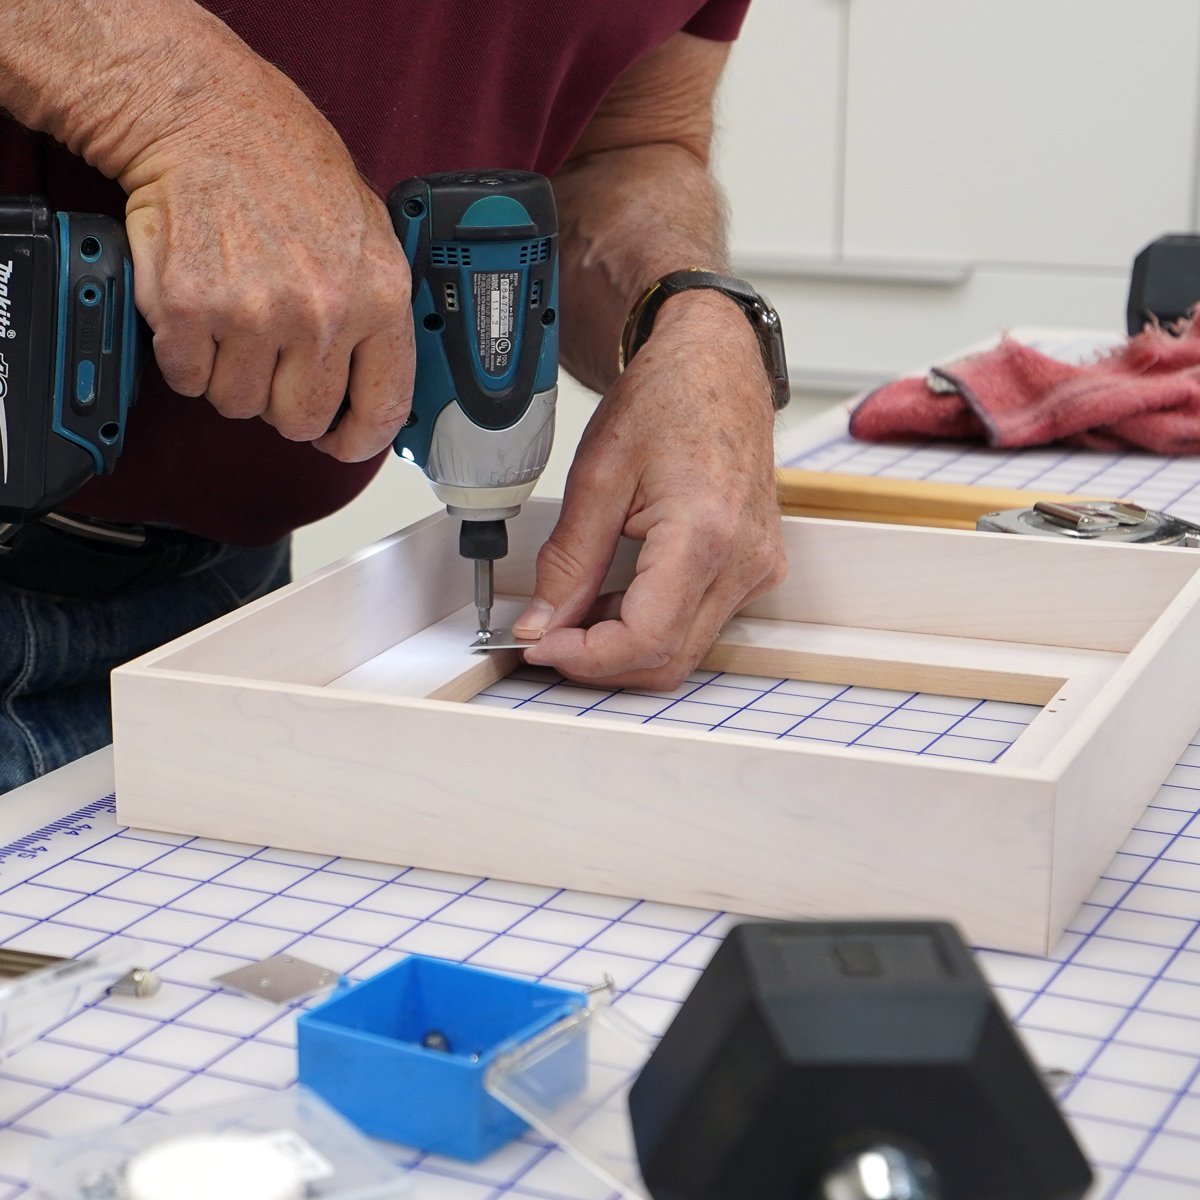
Next the aluminum mounting tabs are screwed into the frame. With two screws for each tab, the supports are very strong.
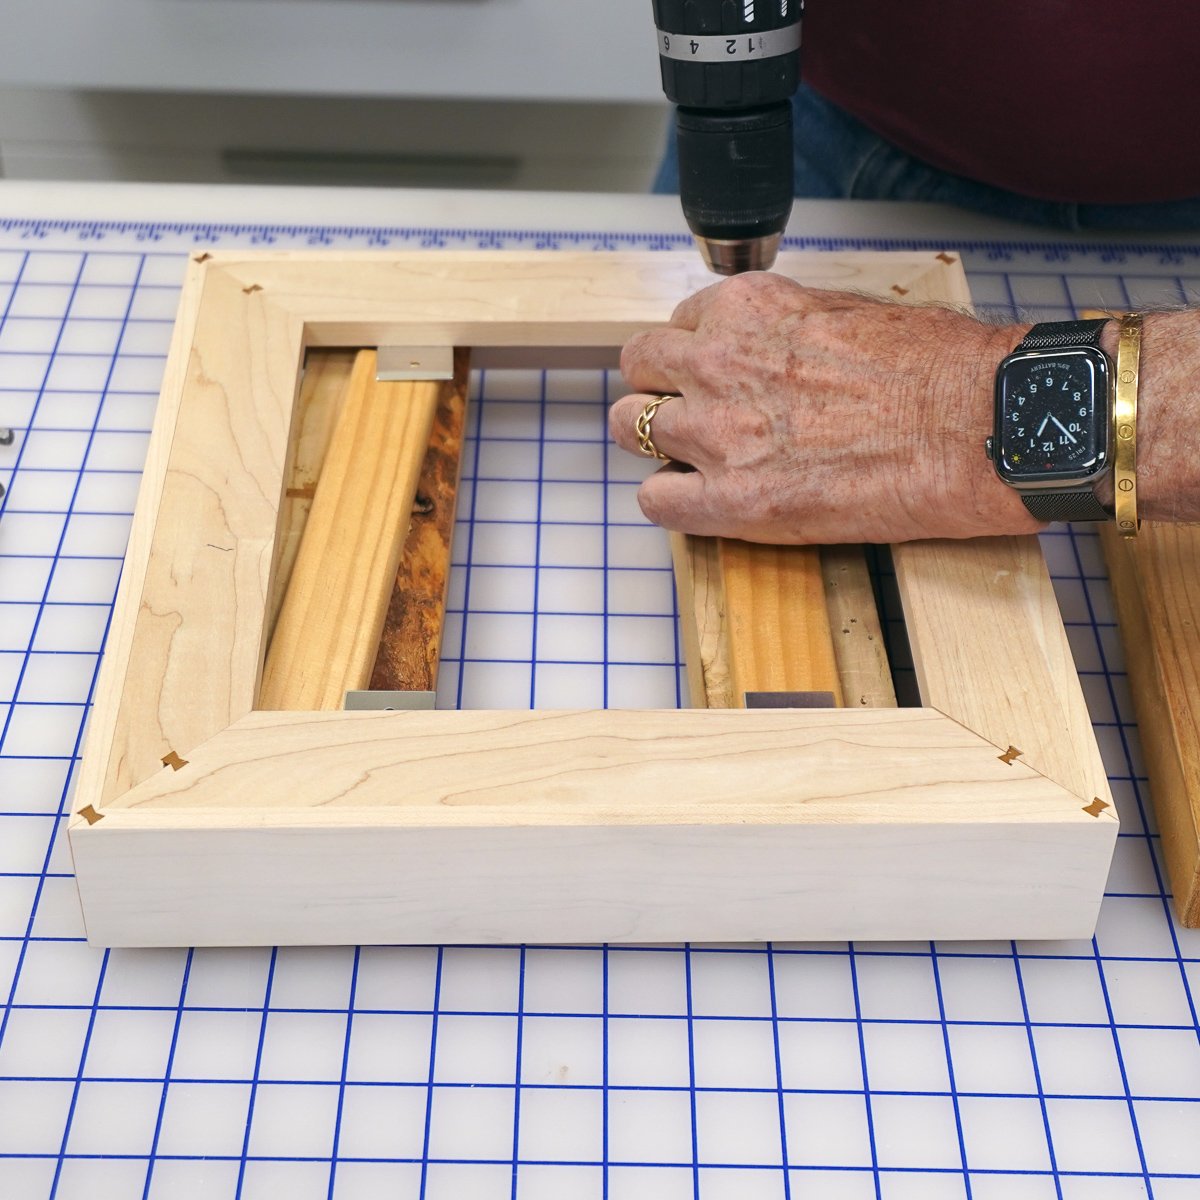
Working from the other side, the wooden slats are drilled before attaching them to the tabs with screws.
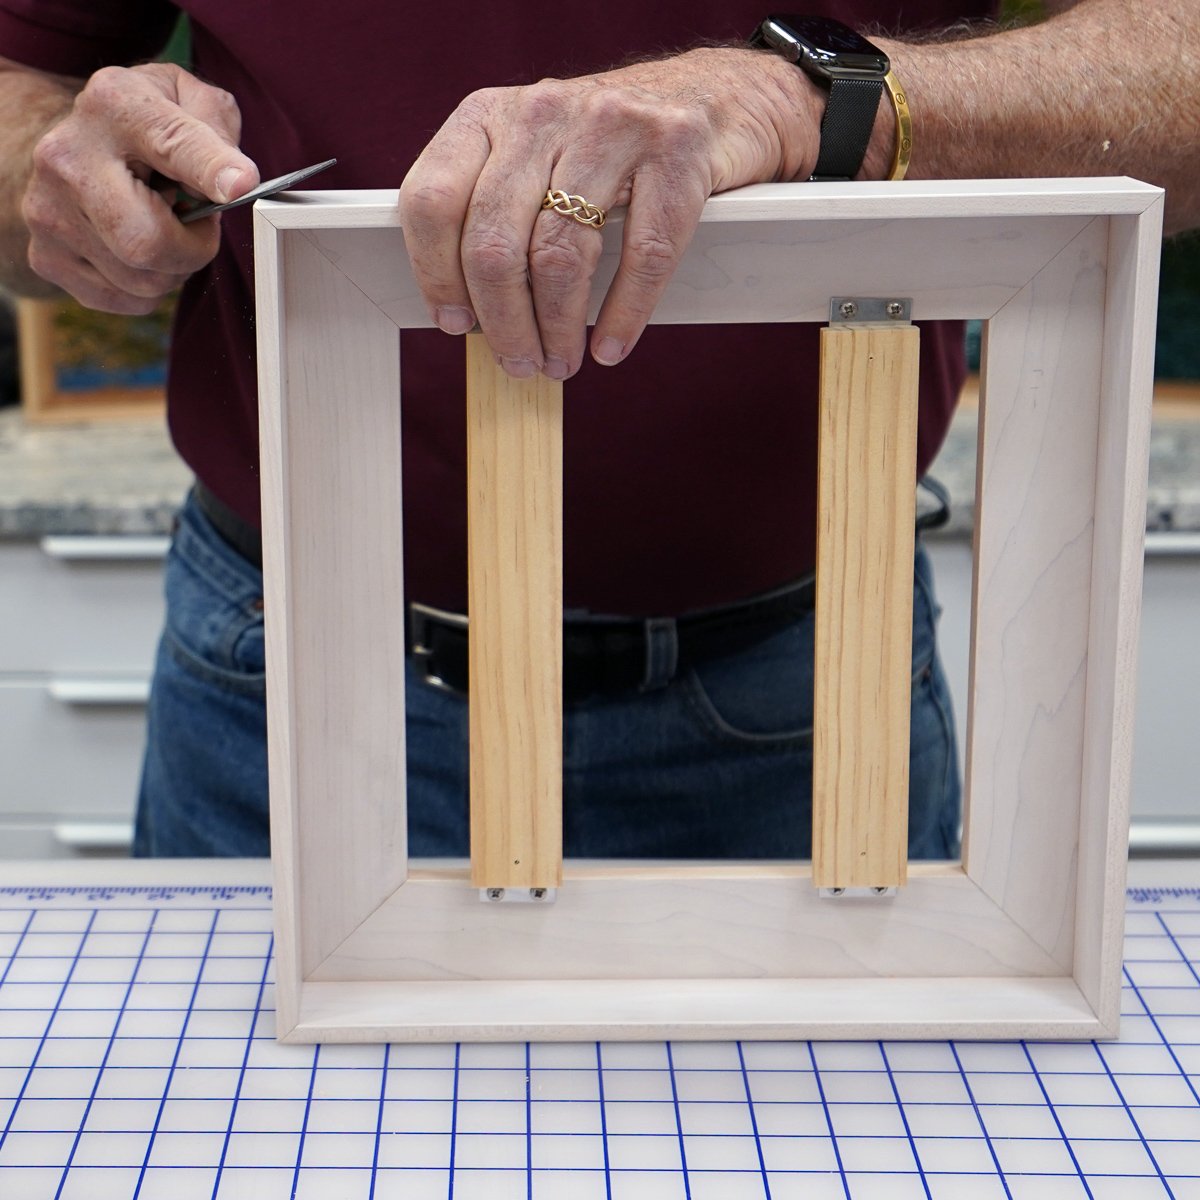
Here you see the finished slats mounted on the metal tabs. At this point I do a final check on all the corners and smooth them with a file as needed.
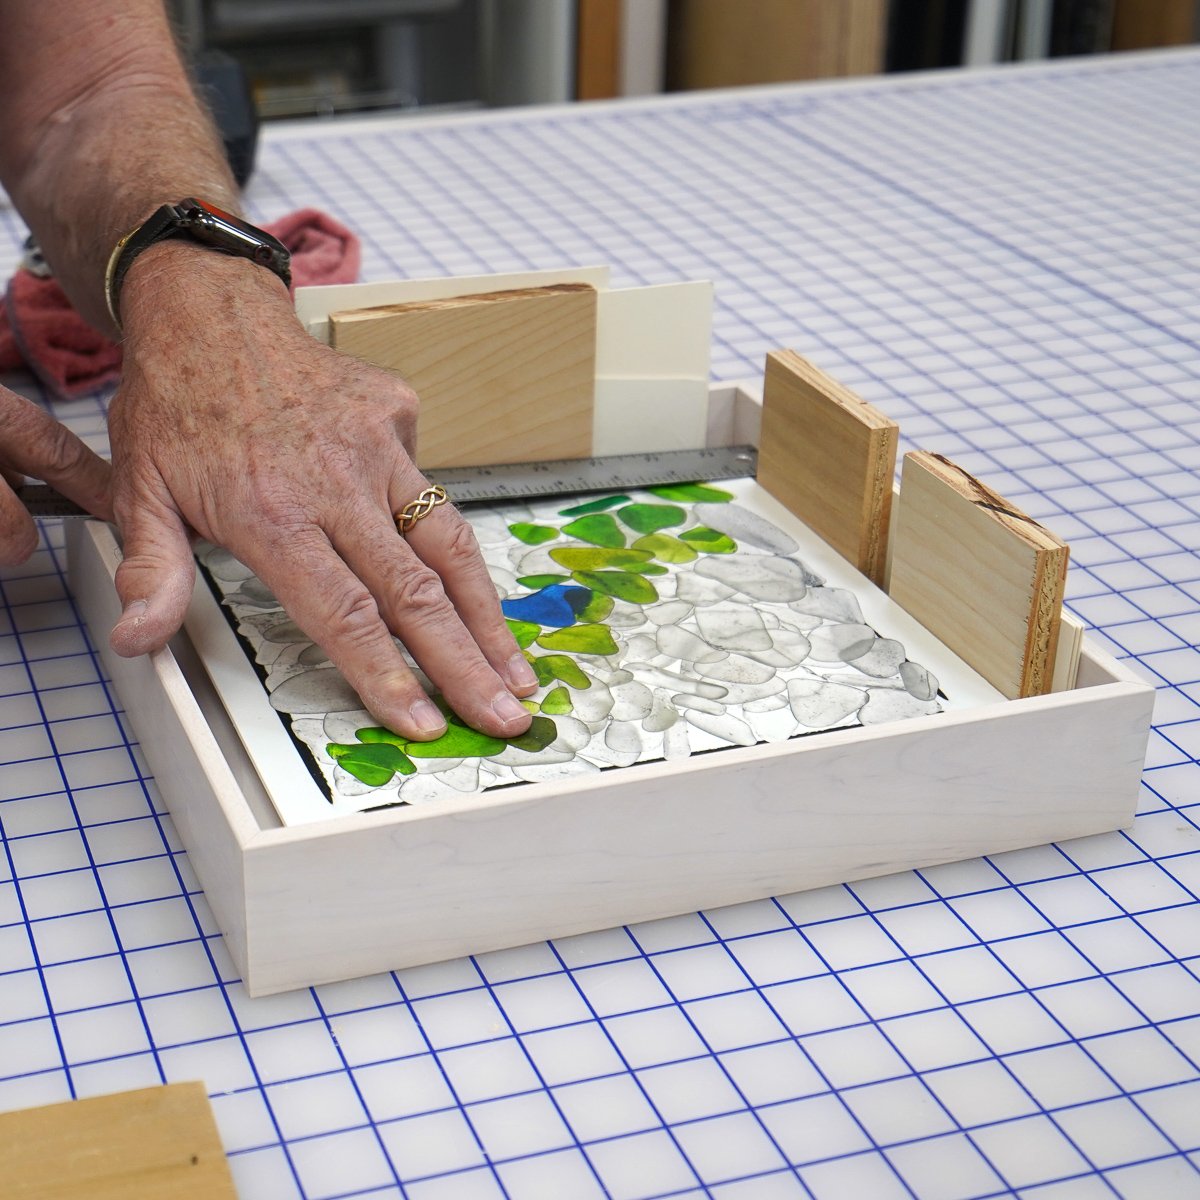
The final assembly step is to mount the print in the frame. The most important thing is to be sure the print is centered perfectly in the opening. I use a variety of shims (wood, mat board, cardboard, etc.) to do this, measuring with a metal rule as I go. Once centered, I remove the print and add glue to the wood slats before replacing the print firmly against the shims.
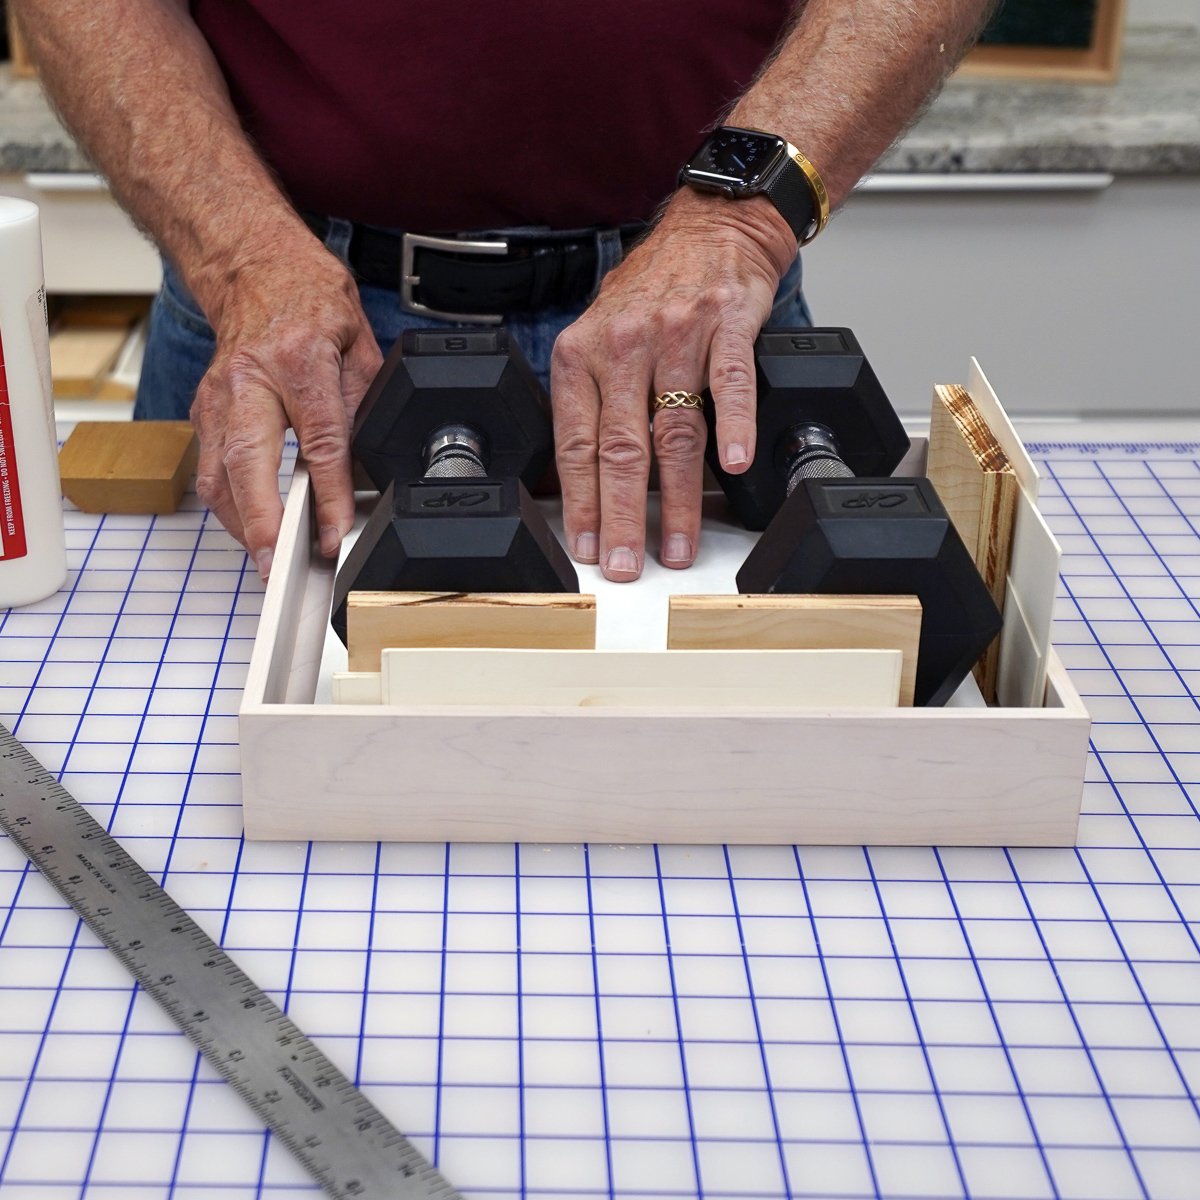
Then, with a piece of release paper on the surface to protect the print, I add weights over the slats to press the assembly down.
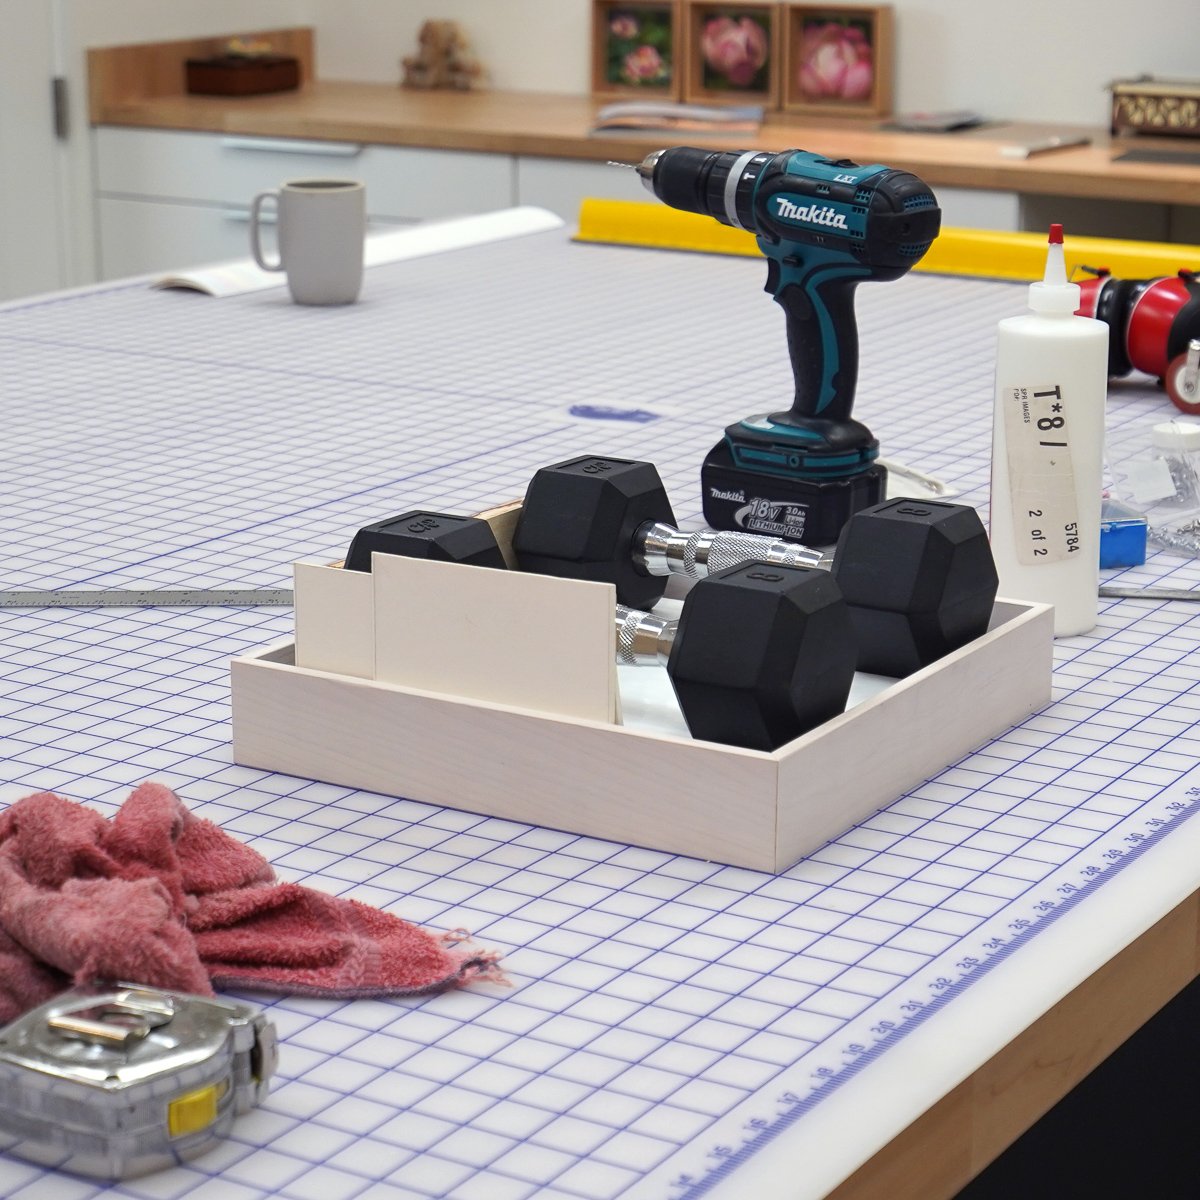
Then it’s time for coffee until the glue is dry.
One nice feature of this assembly method is that if the print ever needs to be taken out of the frame, it’s a simple matter of supporting the face of the print on a pillow and removing the screws holding the wood slats to the metal tabs.
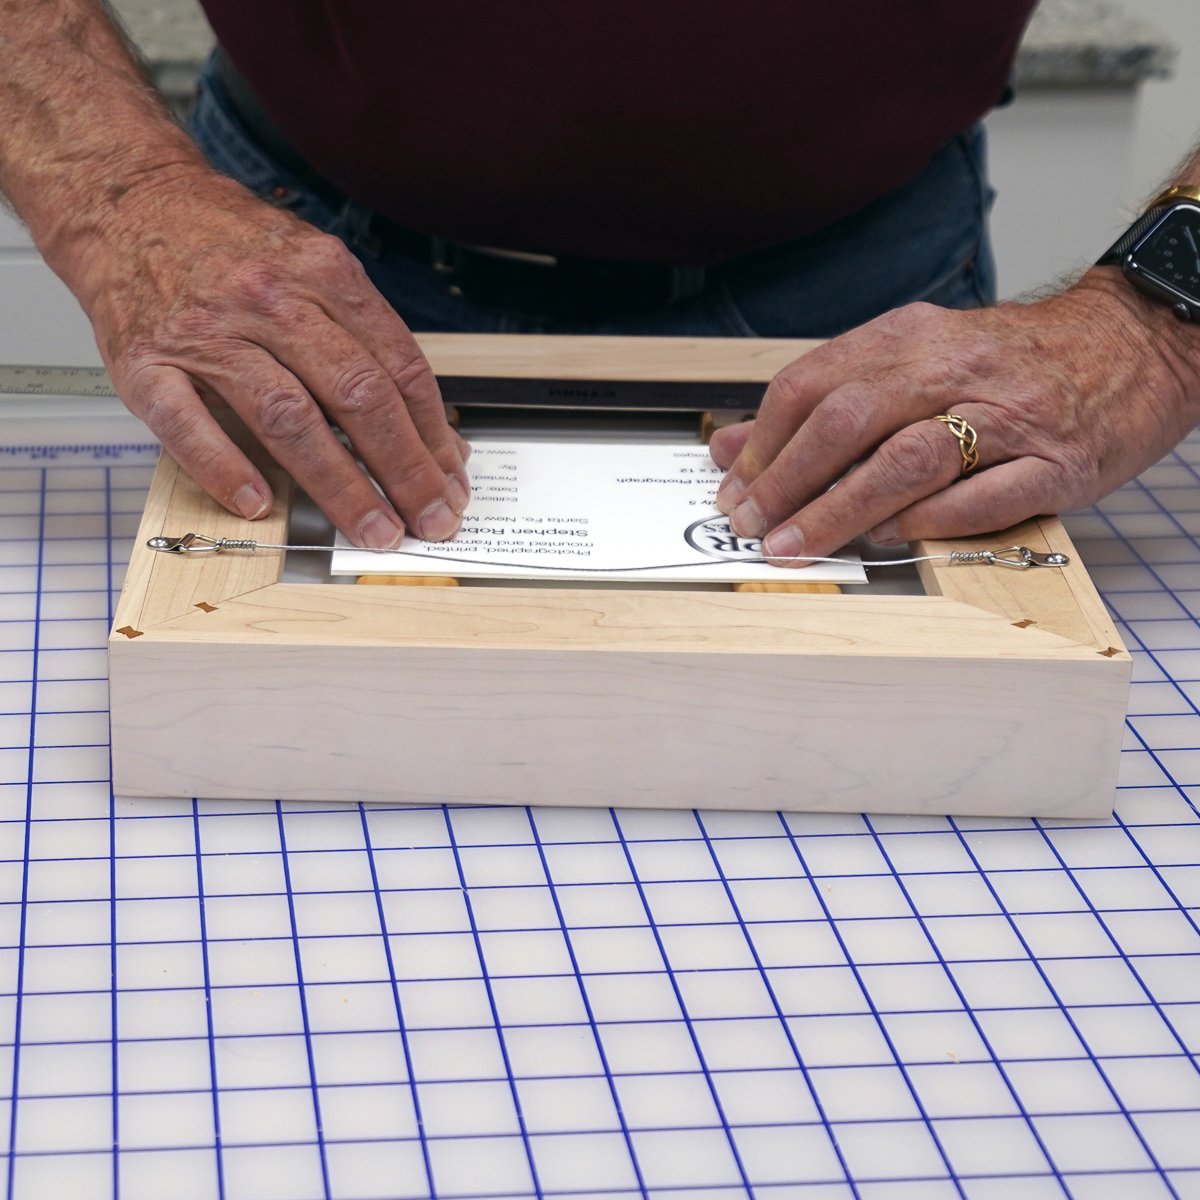
The final finishing steps include adding D-rings and hanging wire (only for smaller prints), rubber bumpers for the bottom corners and a printed label with all information about the image as well as my signature.
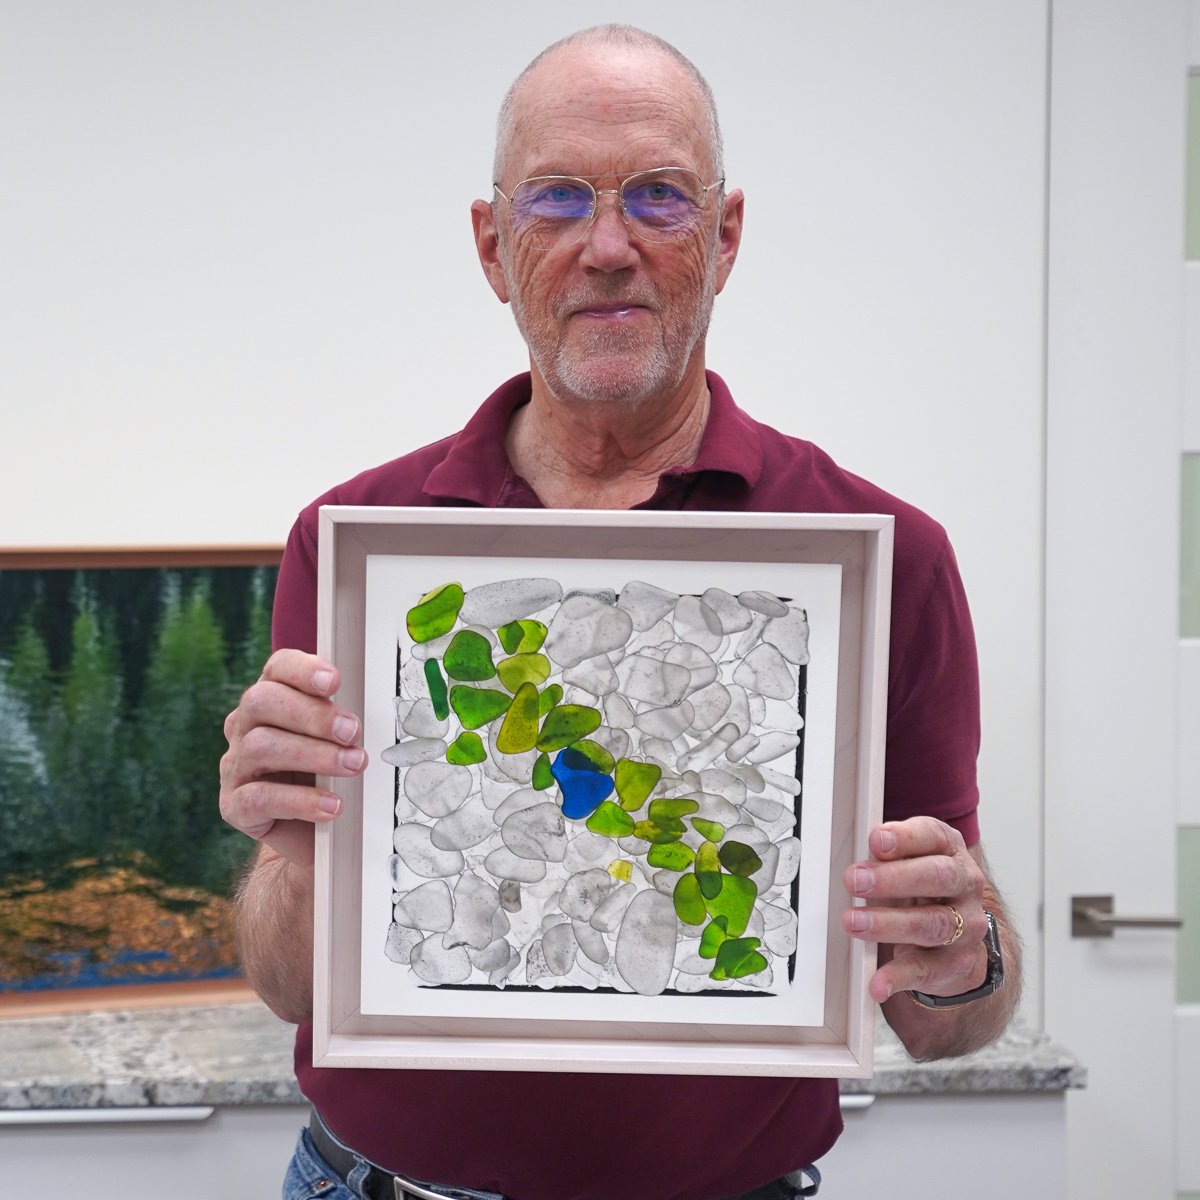
Here I am with the final artwork, ready to hang.
If you have any questions about any of the steps, be sure to send me an email.
